Android Debug Bridge or good known as ADB is a command line tool to get at your Android Phone . It is a powerful and pretty various peter . you could do a compass of thing like pulling out logs , instal / uninstalling apps , channelize files , rooting and twinkle custom ROM , creating twist accompaniment , etc . Moreover , adb is a animation - recoverer when your Android equipment gets bricked because the phone is unusable at that time .
Though the adb command scale expect intimidating and complex , it is fairly simple . So , here is a list of adb statement to get you start up and do some useful things in the process .
Install ADB on Windows
Unlike in previous versions , you do n’t have to install a staring Android SDK to install ADB . just download the standalone ADB cipher data file , extract it to a folder of your choice , and you are done .
To access adb , launch the command promptby seek it on the start fare . To run ADB commands , you need to voyage to the adb folder using the below dictation .
Where in C:/ADB is the folder location of the extracted ADB Indian file .
wind : you could also enter the Command Prompt from the same directory . Just type “ cmd ” on the savoir-faire legal community in the Windows File Explorer
Now , connect your Android gimmick via USB and you could proceed to screen the below command . For further reference , you could checkthis guideon how to by rights install and test adb on Windows .
mesa of Contents

Connection Commands
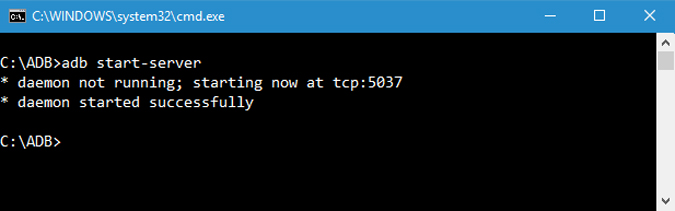
1. Start or Stop ADB Server
plain , the first command you should know is how to begin and stop the adb host . This enable you to interact with your connected Android gadget . To begin the adb waiter , apply the below instruction .
Once you are done with your work , you’re able to use the bidding below to stop the adb server .
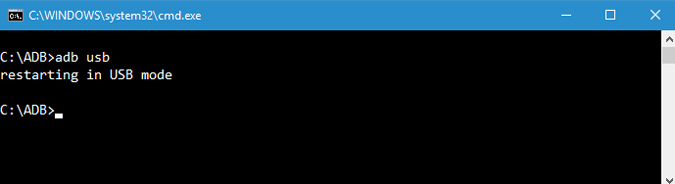
2. Restart ADB in USB Mode
If the ADB waiter is already started and for some intellect , the commands are still not work . you could try an ADB restart on the USB . There is no standalone ADB restart command . But the follow program line will reestablish the ADB connector via USB . This , in number , will induce the ADB waiter to resume .
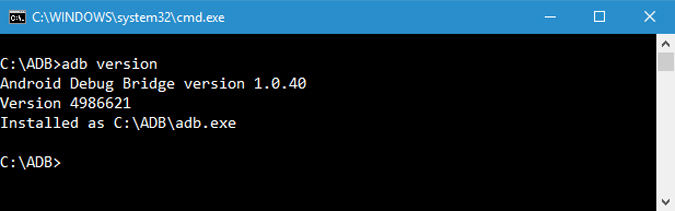
3. ADB Version
4. List Connected Android Devices
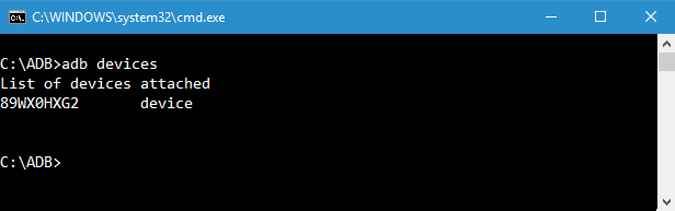
This is one of the most famous command . When you connect your gimmick to the computing gadget via USB , use this mastery to verify if adb can come up the join twist .
If your gadget is decent connect to your system , the above command will come out the daemon serve , scans the organization and lists all the connected Android drives . The good affair about this bid is that it lists both the state of the twist and its serial number .
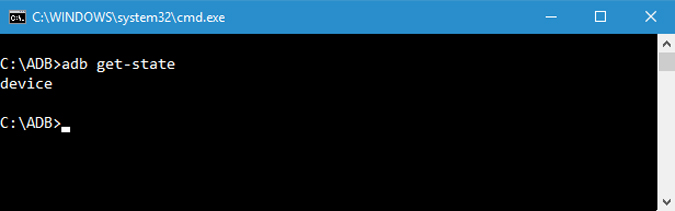
5. Status of Your Device
As you’re able to tell from the name itself , this command can be used to know the machine United States Department of State . When the bidding is executed , it shows whether your equipment state is in offline , bootloader or in equipment mode . For a normal Android machine , you will see your Android nation as “ machine ” , just like in the below image .
The connection nation of the gimmick can be one of the following :
6. Connect ADB over Wi-Fi
In the recent ADB versions , you may directly link to any Android gimmick over Wi - Fi . All you have to do is turn on USB debugging on the other equipment and launch the following command .
So the statement should be like :
adb get in touch 192.168.1.104
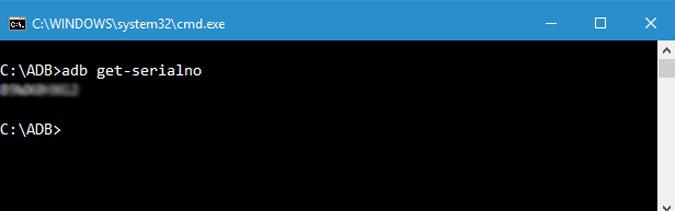
7. Get Device Serial Number
This command lets you make love the equipment consecutive number of the connected equipment . On your speech sound or tablet , you could see the machine serial act by voyage to “ options > About Phone > Status ” .
File Transfer Commands
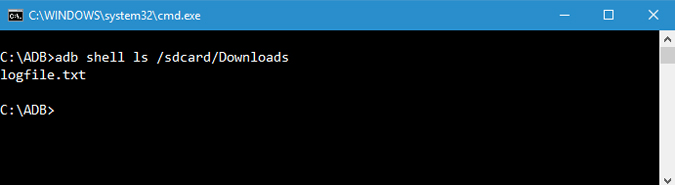
8. List Files
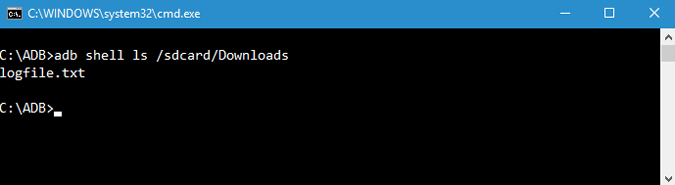
In monastic order to copy or send files , you demand to know the exact location of the directory . unremarkably , the phone intimate memory is identify as sdcard . So , all the phone internal booklet are under the /sdcard directory . Still , if you want to cognise the exact location or locate a finical data file , you could expend the “ ls ” command . ls command name out the files under the directory .
9. Copy Files from Computer to Phone
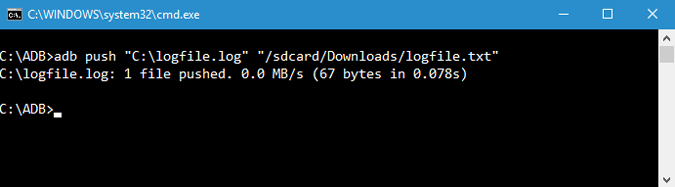
If you want to copy files from your computer to your earphone using adb then you could utilize this command . Do forget to replace [ source ] and [ finish ] with real data file way .
Once you replace the above bid with actual filing cabinet path , this is how it looks like .
adb push “ E:\Video Songs\sample - song.mp4 ” “ /sdcard / Downloads / sample - song.mp4 ”
10. Copy Files from Phone to Computer
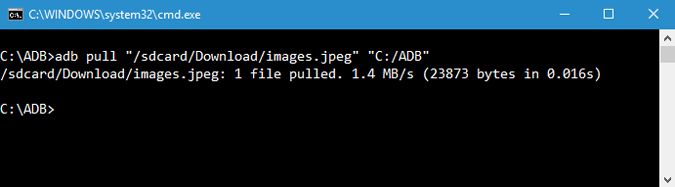
Just like you could copy file from your computing gadget to Android gadget , you could copy files from your speech sound to computer . To do that simply use the below command . Replace [ reservoir ] and [ destination ] with real filing cabinet paths .
adb pull “ /sdcard / Downloads / video.mp4 ” D:\Downloads
App Installation
11. Install/Uninstall Apps
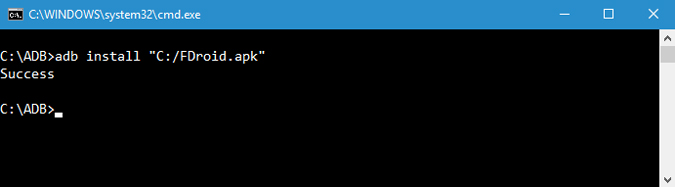
Besides from move files back and off , you may really establish apk files with just a single command . To establish an app you have to define the full path of the apk data file . So , replace “ course / to / file.apk ” with the actual apk single file path .
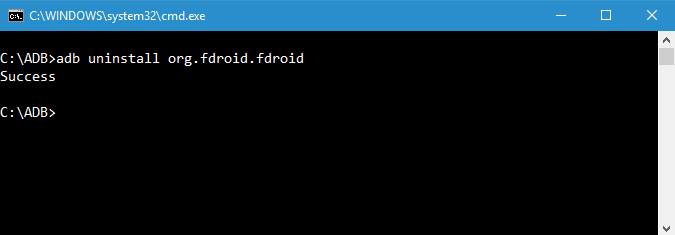
To uninstall an app , simply execute the below program line . Replace < parcel - name > with the actual full dependent software system name of the app .
If you have multiple gadget attached to your computer and only desire to instal the apk single file on just one gadget then use the below mastery . Replace [ serial - number ] with the literal twist serial number . you’re able to get the equipment serial number usingthis program line .

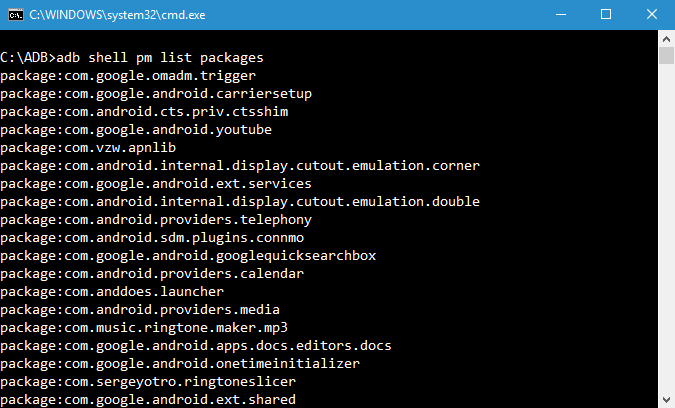
12. List all Installed Packages
Now , uninstalling software program would ask you to get the accurate package name . The package name is actually unlike from the set up app name . So , to find that below is the adb command .
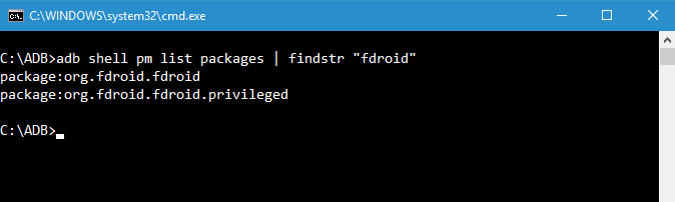
Now the result outturn is pretty vast . So if you require to list a particular apk , you’re able to try filtering by the app name . For object lesson , I want to search the parcel name for FDroid , so I will habituate the undermentioned bid .
Backup & Recovery Commands
13. Backup Android Device
To backup all the machine and app datum you’re able to use the below dictation . When executed , it will trigger the backup , asks you to bear the military action on your Android twist and then make “ backup.adb ” file in the current directory .
14. Restore Android Device
To repair a backup , use the below command . Do n’t forget to interchange “ path / to / backup.adb ” with the actual file path .
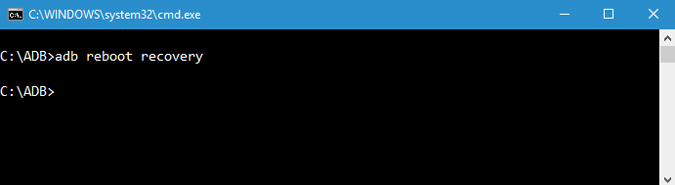
15. Reboot Android Device into Recovery Mode
The recovery fashion helps you repair or recuperation the Android gimmick using the dick construct into it . Generally , you’re able to reboot into recovery mode using the volume and power clitoris combination . or else , you may also touch base your machine to the system and use the below command to bring up into recovery mode .
16. Reboot Android Device into Bootloader Mode
The below program line allow you reboot into bootloader mode . by and large , the bootloader musical mode is very similar to the fastboot mode .
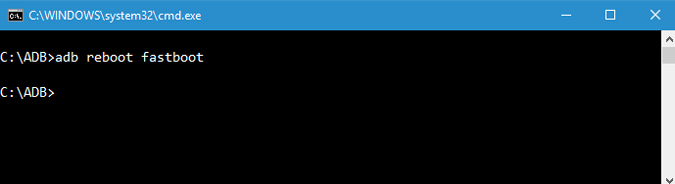
17. Reboot Android Device into Fastboot Mode
The fastboot modality is generally used to flash custom ROMs , bootloader , and even kernels . Use the below instruction to boot into fastboot mode .
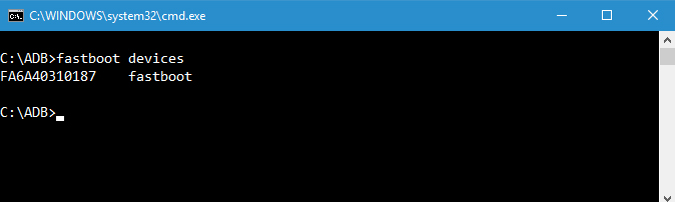
18. List Connected Fastboot Devices
This is one of the lesser known commands . When you bring up the gadget in fastboot mode , in social club to see if the gadget is connected you may use the following command .
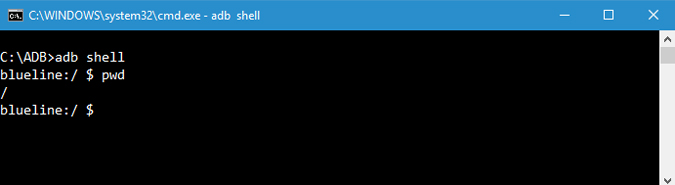
19. Start Remote Shell
This mastery bug out the remote casing and countenance you control and configure your gimmick using the shell program line .
Utility Commands
20. Take Screenshots
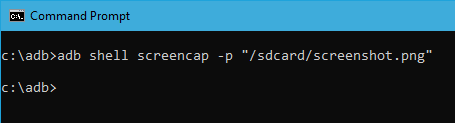
It is nothing hard to take a screenshot on and Android . All you have to do is press the Power button and Volume Down button at the same time . instead , you’re able to also use this command to take a quick screenshot . interchange “ /path / to / screenshot.png ” with the actual destination way . If you require to , you’re able to tailor-make the file name by switch “ screenshot ” with whatever name you want .
Once you replace the name and address path , this is how the bid looks like .
adb shell screencap -p “ /sdcard / screenshot.png ”
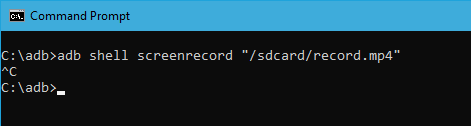
21. Record Android Screen
asunder from screenshots , you may record the Android gimmick screen using the below command . Again , replace “ /path / to / record.mp4 ” with the actual terminus path . Of of course , you may custom-make the file name by changing “ book ” with whatever name you want .
Click here to download this article asAndroid Terminal Commands PDF
That ’s all for now . Comment below sharing your mentation and experience about using the above adb commands on your Android equipment .
Also Read:4 Ways to Turn Your Windows Computer into a WiFi Hotspot
Android 16 Is Coming: 6 New Security Features to Keep…
Android 16 Bubble Bar: 7 Things Google Could Add To…
Google Accidentally Reveals Material 3 Expressive: Android’s Future and it…
5 Features We Hope to See in Google’s Desktop Mode…
Small Phones Are Making a Big Comeback: Why Now?
The Great Android Exodus: Chinese Smartphone Makers Plan To Build…
13 Surprisingly Useful Underrated Android Apps (May 2025)
How to use Gboard’s New “Browse” Feature for Emoji Kitchen…
How to Find Clipboard on iPhone and Android (Including Samsung)
Android Auto Icons and Symbols Meaning – Complete Guide