TheScreencast app is now availableby default without enabling any flags on the a la mode ChromeOS 103 update . It is a screen recorder app but do with a few additional lineament such as the power to register yourself while recording the projection screen , transcription choice , a marker characteristic to footnote while transcription , sharing , and more . It ’s a great creature for create display , video lessons , etc . So let ’s plunge into how to access and use the screencast app on Chromebook , and share your screencasts from ChromeOS .
Table of substance
How to Access Screencast App on Chromebook
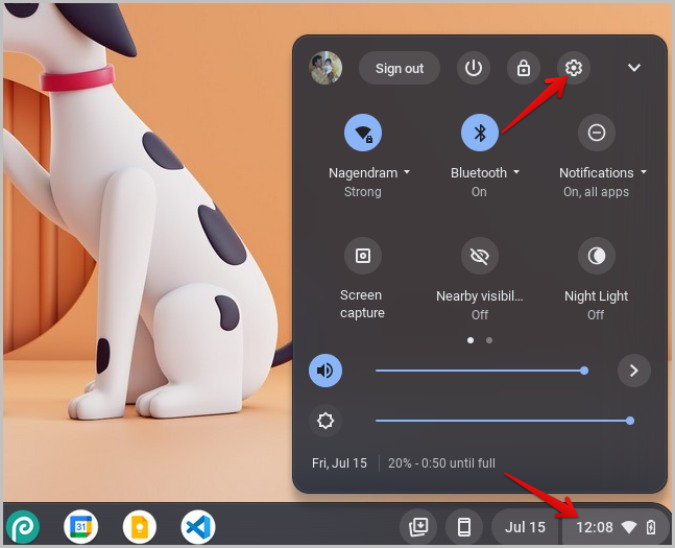
1.First , update the ChromeOS to its modish version or version 103 or above . To update , select theclockat the bottom right street corner and select thecog iconto overt ChromeOS preferences .
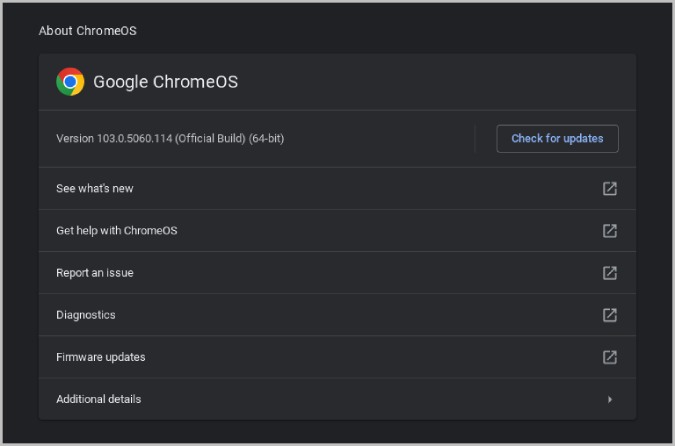
2.In the options app , select theAbout ChromeOSoption in the left sidebar . Here you should be capable to check your ChromeOS version . If the rendering is 103 or above , you’re able to apply the Screencast app .
3.If not , penetrate onCheck for updatesbutton beside it and then click onUpdateif any update are useable .
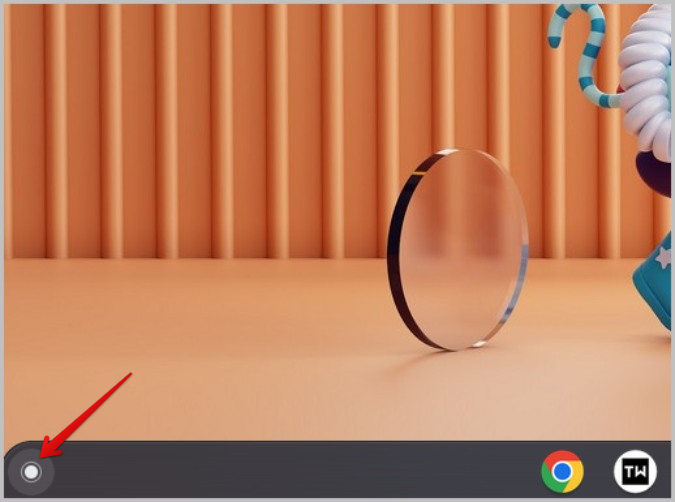
4.Now constrict theSearchbutton on the keyboard or theLaunchericon at the bottom leave corner of the screen to unfold the ChromeOS app drawer .
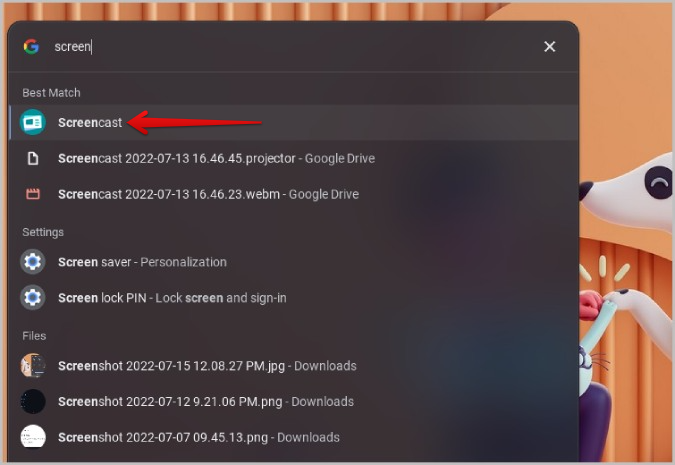
5.In the app draftsman , scroll down and open theScreencastapp . Or , you’re able to also search for a Screencast to find and spread out it .
How to Use Screencast App on Chromebook
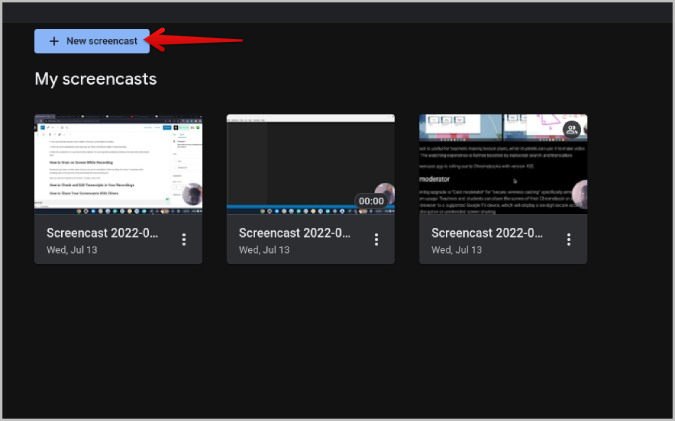
1.start the Screencast app from the app draftsman . tap theNew screencastbutton at the top to start the recording Chromebook screen door .
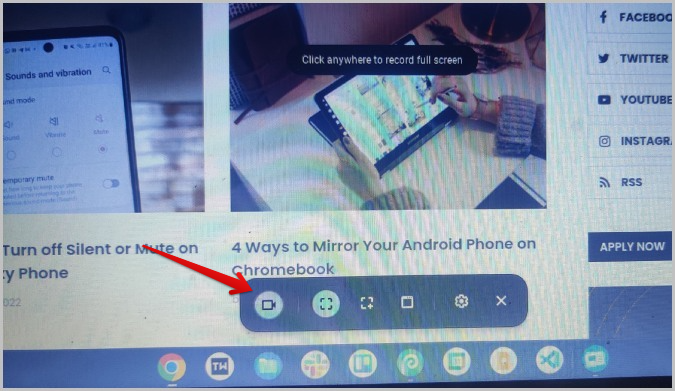
2.You will enter into ChromeOS’sscreen recording style . By default , it is define to record the intact filmdom . But you could ready it to memorialise only a portion of the selected screen or you could also select any windowpane to memorialise .
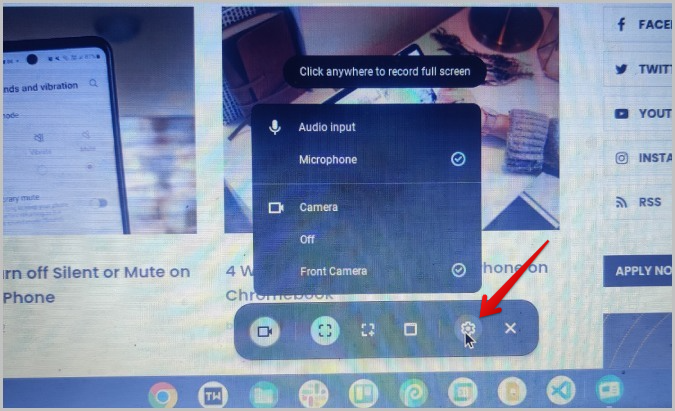
4.By select thecog picture , you’re able to determine the audio stimulus gimmick and webcam . you may read audio from the mic , but the audio from the Chromebook itself can not be recorded as of now .
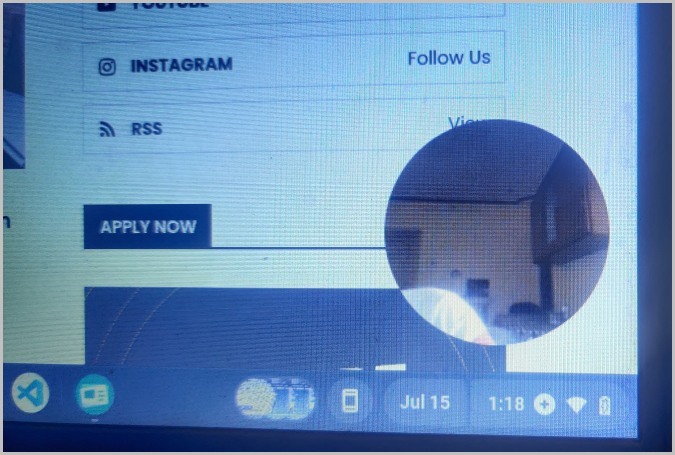
5.By default , the screencast will also admit the camera transcription in a small circle , but you’re able to also choose to flex it off here .
6.you’re able to move the webcam view to either of the four corners before recording .
7.Once you have customized it to your want , clack on theRecordbutton to start record .
8.After a three - second countdown , Screencast will commence recording Chromebook ’s projection screen . If you want to record a longer video , you do n’t have to worry about your Chromebook ’s storage . The picture will be upload to Google Drive as you record , you just need to ensure you are get in touch to the internet .
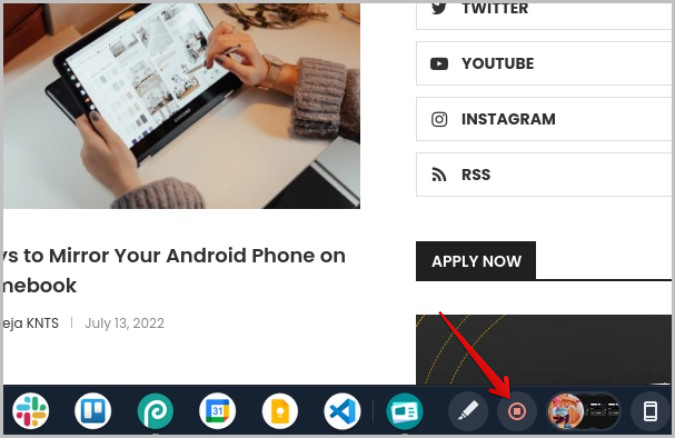
9.you could finish the transcription by clicking on thestop icon(red circle ) in the bottom dock .
The Screencast telecasting will be uploaded to Google Drive , so you could not get to the television in your local store . But , you’re able to not get at the TV from Google Drive either . Instead , it will be only available on the Screencast app . But the videos will take up space in your Drive storage and you may access them on your other Chromebooks too .
Draw on Screen While Recording on Chromebook
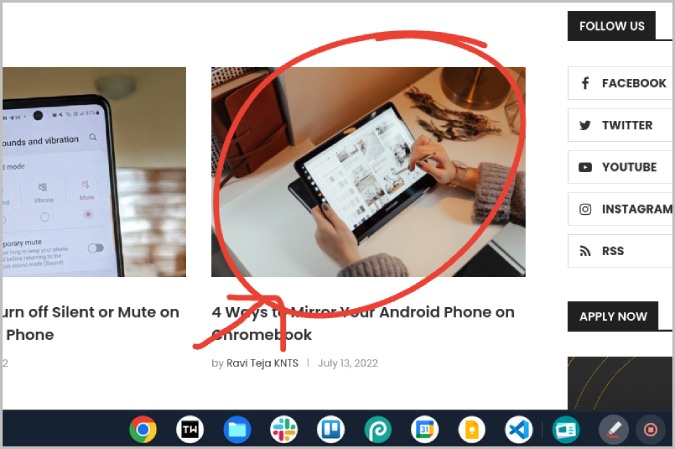
1.Screencast also has a mark option that you’re able to employ for annotations while recording the screenland . To annotate while recording with Screencast on your Chromebook , tap thepen iconin the bob beside the stop recording icon .
2.Now you may start draw on the screen . To rub out , tap thepen iconagain .
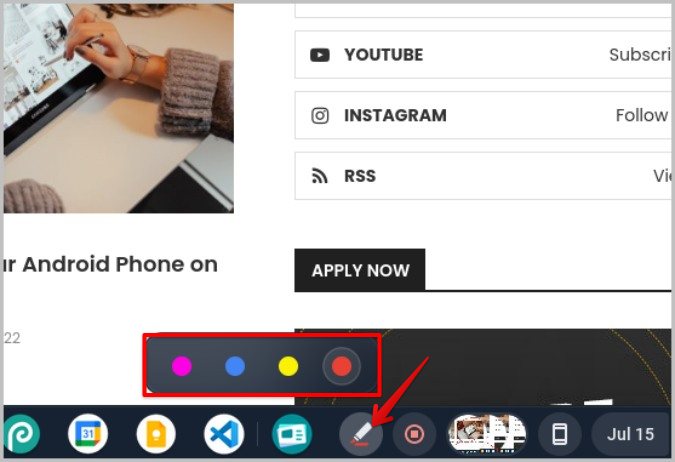
3.To deepen the color , decent - snap on the playpen ikon and select a colour to change it .
All these notation will be recorded in the Screencast video you are recording . As of now , you’re able to only use the marker feature article while register only .
How to Check and Edit Transcripts in Screencast Recordings
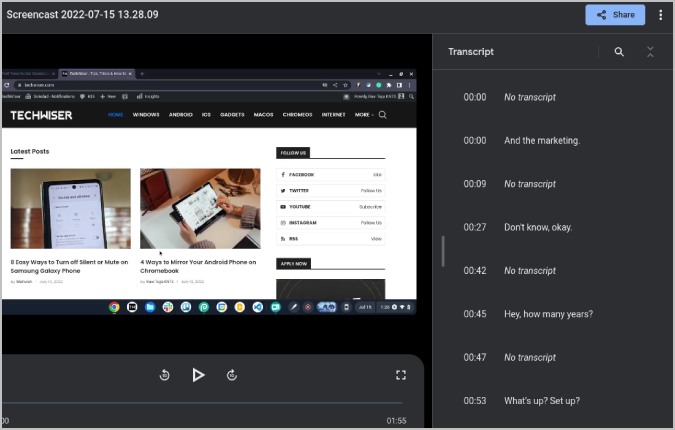
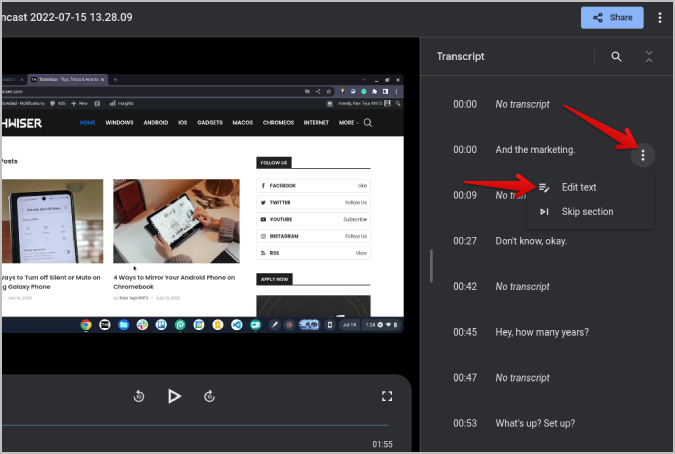
1.start the video to see arranging automatically on the right side . By come home on the copy , the picture will bulge out play from the chosen time and transcription .
2.In case any transcription is n’t accurate , tap thekebab menu ( three - Lucy in the sky with diamonds menu)beside it and selectEdit text .
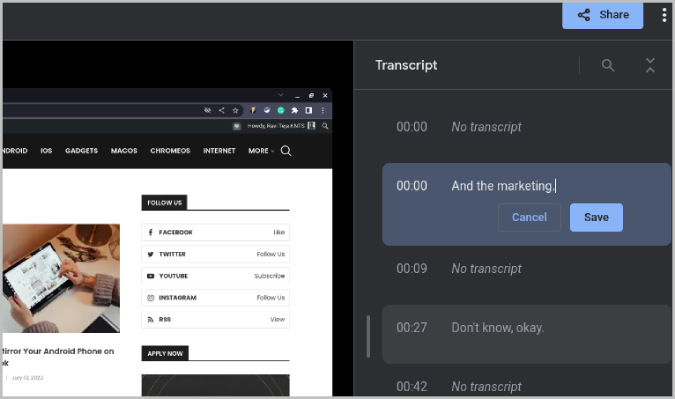
3.Then you’re able to edit the arranging and press theSavebutton to change it .
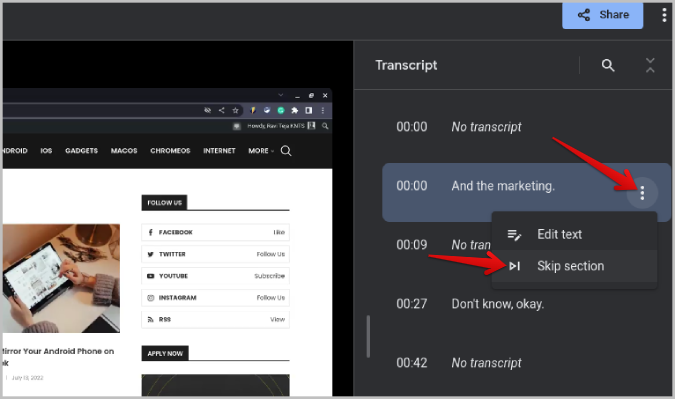
4.In theKebab menu ( three - dot fare ) , you will discover theSkip sectionoption . It will skitter that part of the video while playing .
How to Share Your Screencasts on Chromebook
Sharing a screencast is as promiscuous as partake in file on your Google Drive .
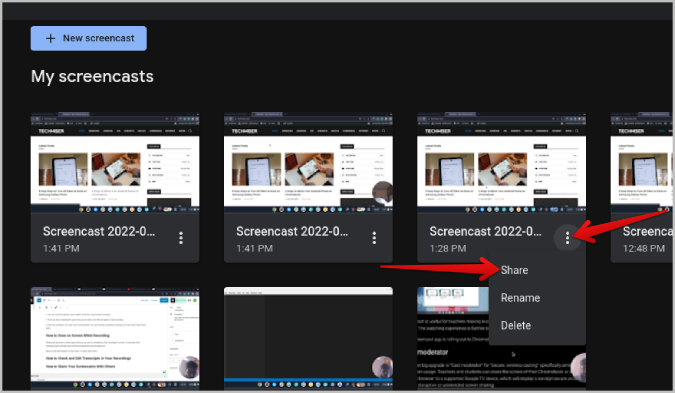
1.On the home pageboy of the Screencasts app , select thekebab menu ( three - dot menu)and prize theShareoption .
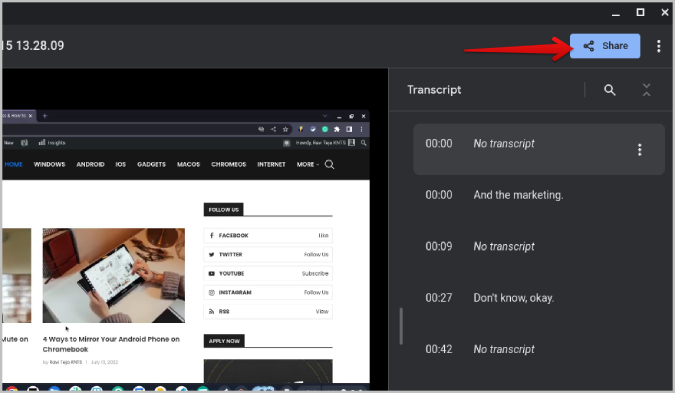
2.Alternatively , you’re able to clack on theSharebutton at the top while play the TV in the app .
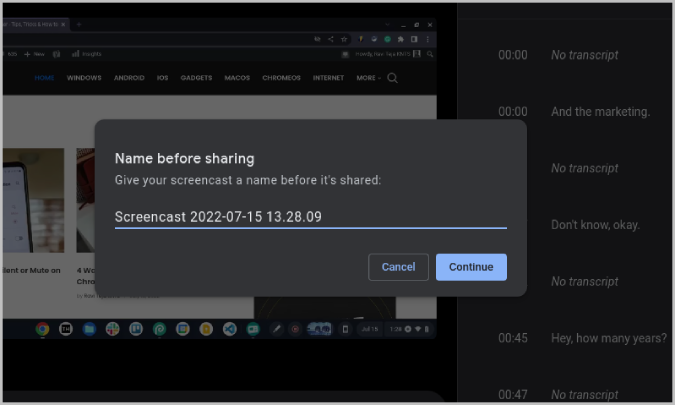
3.In the pop - up , give a name for your Screencast video and click onContinue .
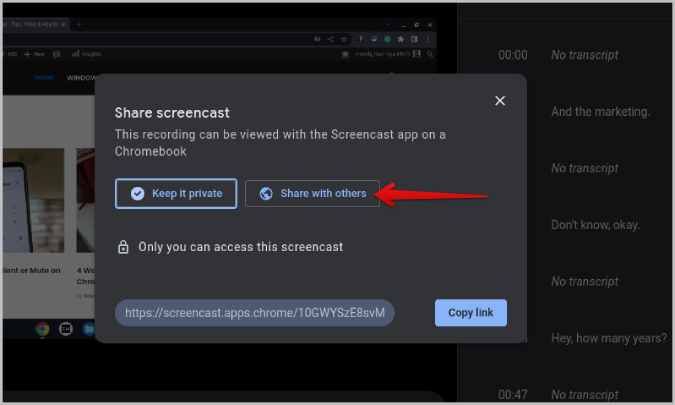
4.By nonremittal , it is arrange to keep it private , so deepen it toShare with others .
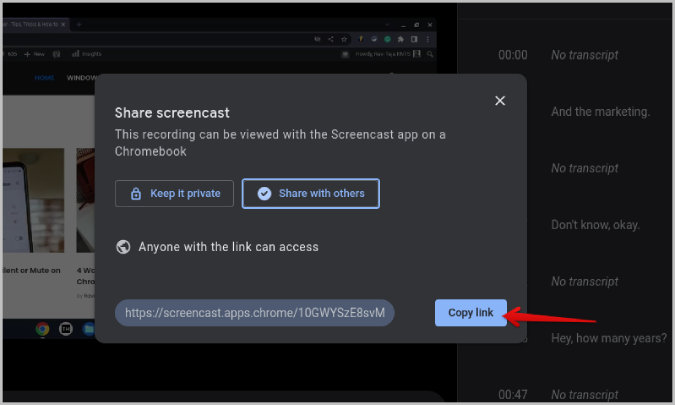
5.Now tick on theCopy linkoption and apportion it with other Chromebook exploiter .
As these television can be viewed only on the Screencast app and useable on ChromeOS devices , people with Windows , Mac , or Linux can not watch these screen recording . Also , people with the previous versions of ChromeOS can not access it either .
Using Screencast on ChromeOS
Chromebook is mostly popular in schools and offices . Features like these can make it so much easier to record a lecture , presentation , or any video . It records the screen and also the camera at the same time . As it uploads to your Google Drive , even the file sizing is n’t an number . But you need tomake sure there is enough space on your Google Drive .
Later you’re able to share with other ChromeOS user by just sharing a linkup . Screencast is aunique feature on ChromeOS that is n’t useable on Windows and Mac .
How to Use Custom Mouse and Keyboard Shortcuts on Chromebook
What’s the Difference Between Chromebook and Chromebook Plus
How to Stream Apps From Android Phone to Chromebook
8 Unique ChromeOS and Android Integrated Ecosystem Features
20 Best Keyboard Shortcuts for Chromebook for Home Users
13 Tips to Customize and Personalize Your Chromebook
How to Edit a Picture or Screenshot on Chromebook
How to Add, Delete and Edit Payment Methods on Chrome
14 Best Fixes for Chromebook Microphone Not Working
How to Change Chromebook System and Keyboard Language