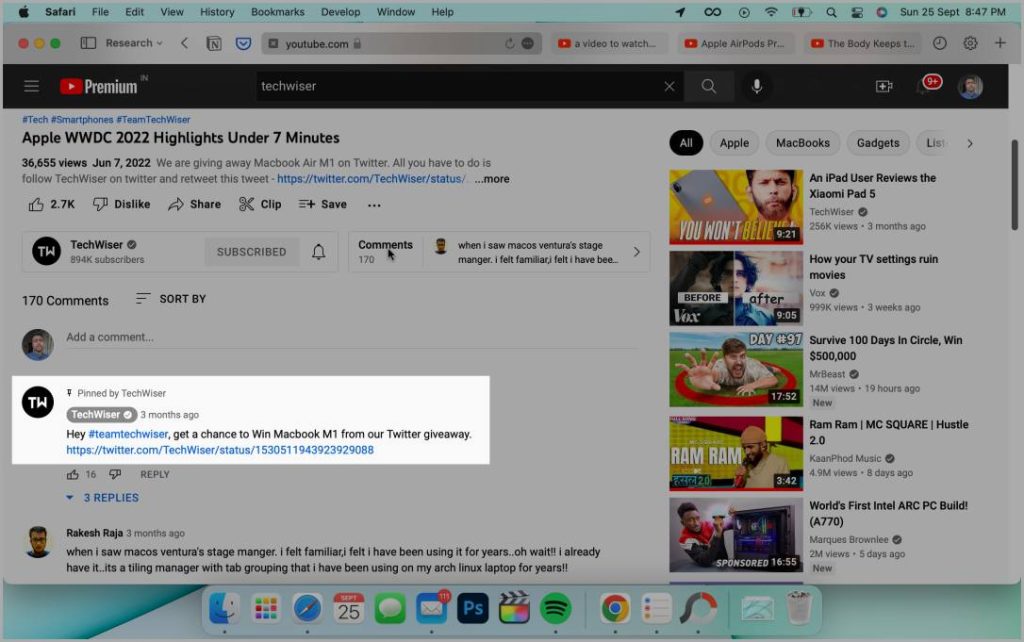
Screenshots are a good way to explain what you are doing or confront in an app . It is also used to deal information or take notes . Most users take screenshots on theiriPhones , iPads , and Macs . If you ’ve ever wanted to take a screenshot and highlight or annotate something on your MacBook , then this guide is for you . Let ’s first understand how to take a screenshot on Mac and then how to highlight or gloss that screenshot .
Table of Contents
How to Take a Screenshot on Mac
There are two options when you want to take a screenshot on Mac natively . Either you’re able to capture the whole screen or a particular country of the concealment . Here is the guide to doing both .
Capturing the Entire Screen on Mac
consume a screenshot on macOS is very simple-minded . Just pressCommand + Shift + 3on your keyboard at the same time and a screenshot will be captured . This will becharm your entire projection screen and mechanically save up it on your desktop .
Capturing a Particular Area of Screen on Mac
If you do n’t want to capture your entire concealment but instead , you need to capture a particular area then you should try this .
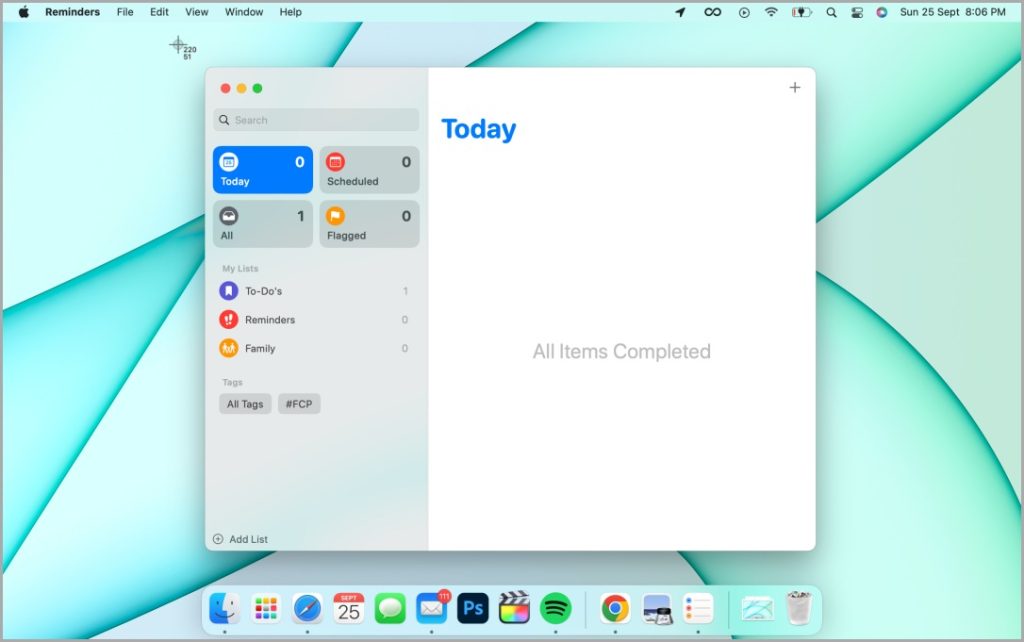
1.Simultaneously pressCommand + Shift + 4on your keyboard and your mouse pointer will commute into a+ ( crosshair ) .
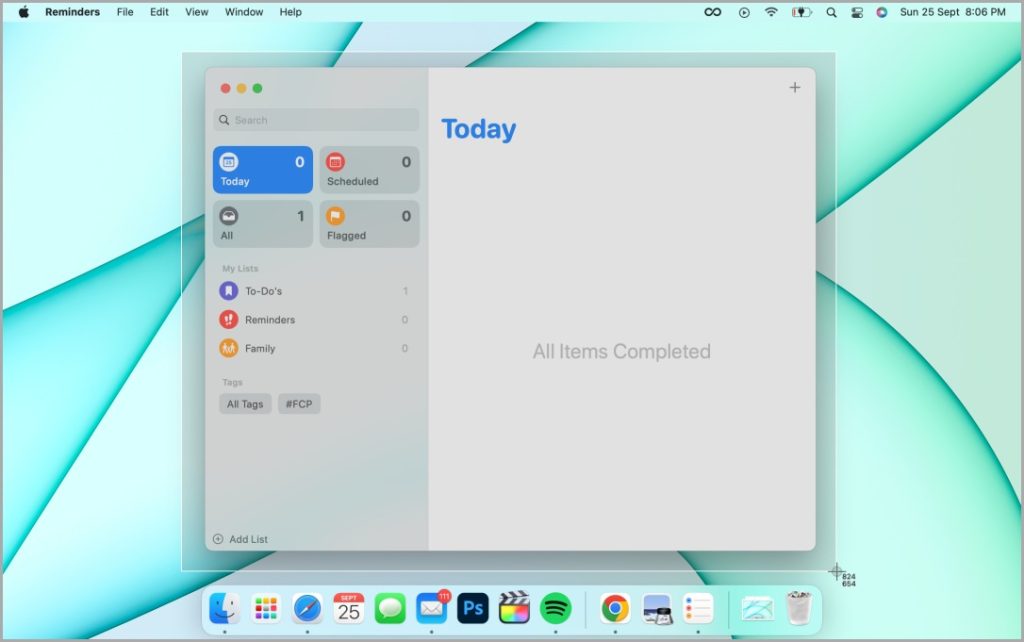
2.Click and dragyour computer mouse over the region you desire to capture and once done just allow your mouse button .

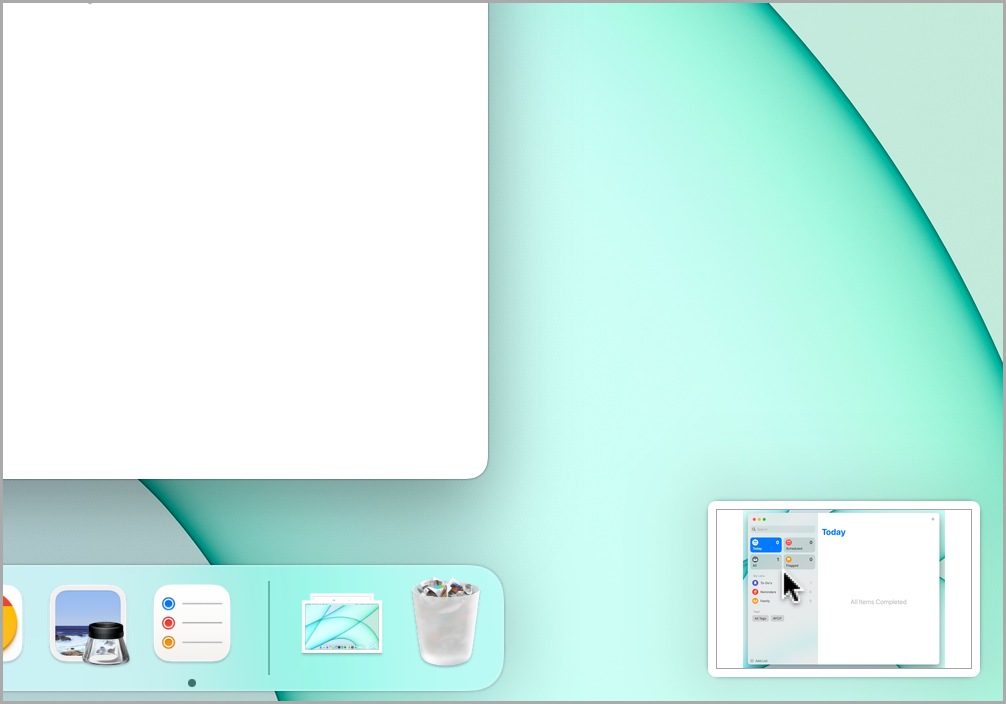
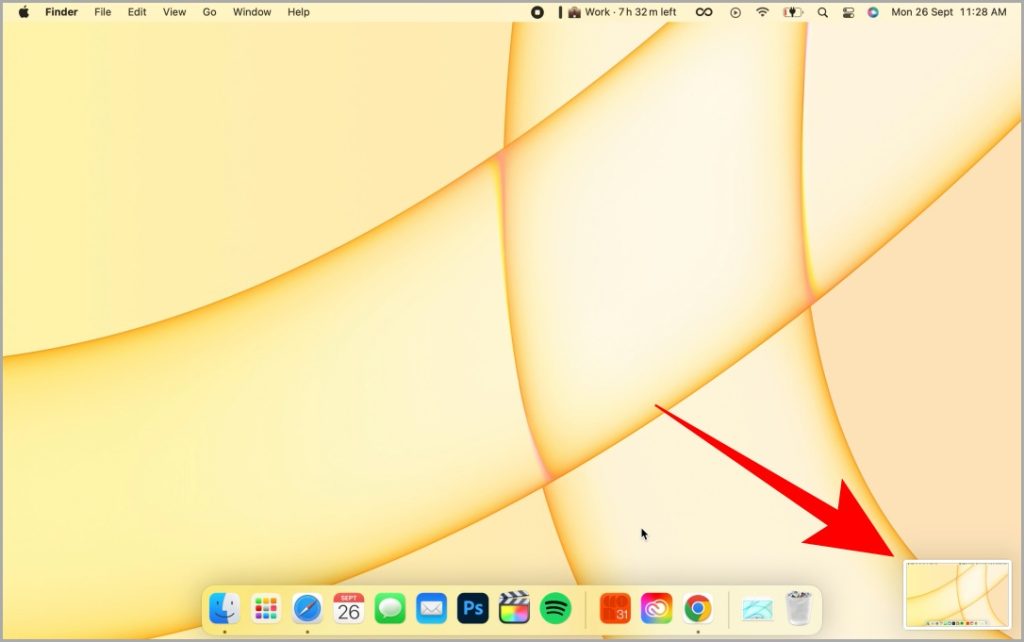
3.You’ll see a screenshot of the domain you just captured beingsavedon the bottom right corner of the screen door .
Highlighting a Screenshot on Mac
You have engage a screenshot on your MacBook , and now you require to highlight a sure part of it to draw attention . It can be an arrow or a box that makes it easy for the recipient role to understand what he / she is reckon to be wait at . Kind of what we do in our screenshots here at TechWiser .
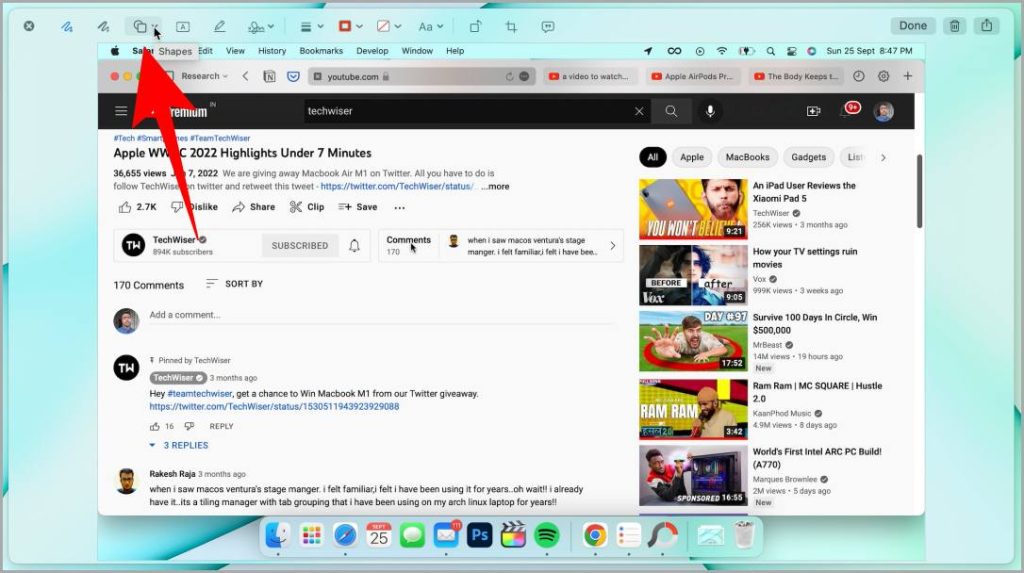
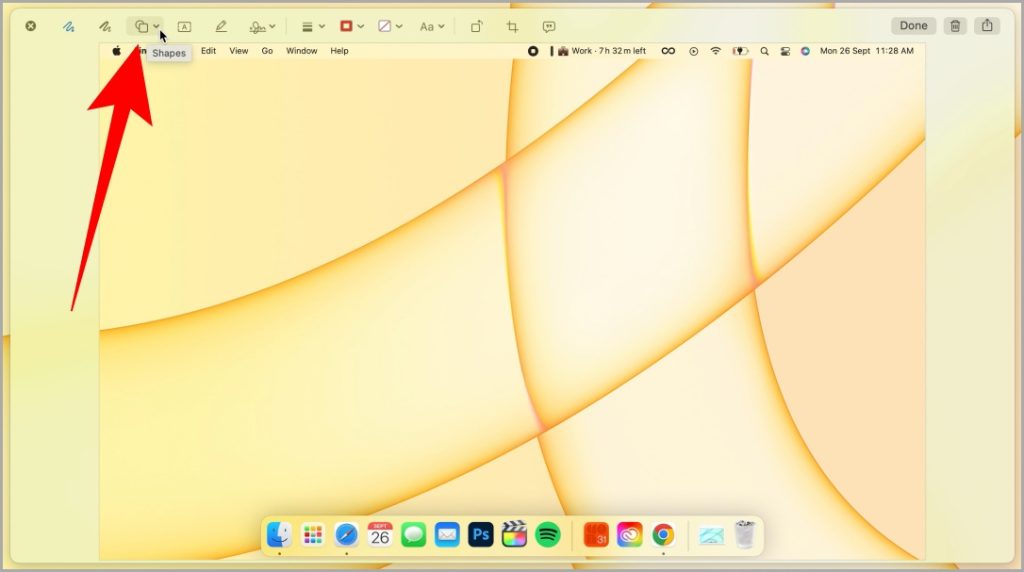
1.Take a screenshot . After that , dawn on the screenshot being salvage in the bottom right corner of the screen to open it in thePreview . Once the Preview editor is open , select theshapestool .
2.Select the bottom left peter ( rectangle ) from the drop - down bill of fare for highlight .
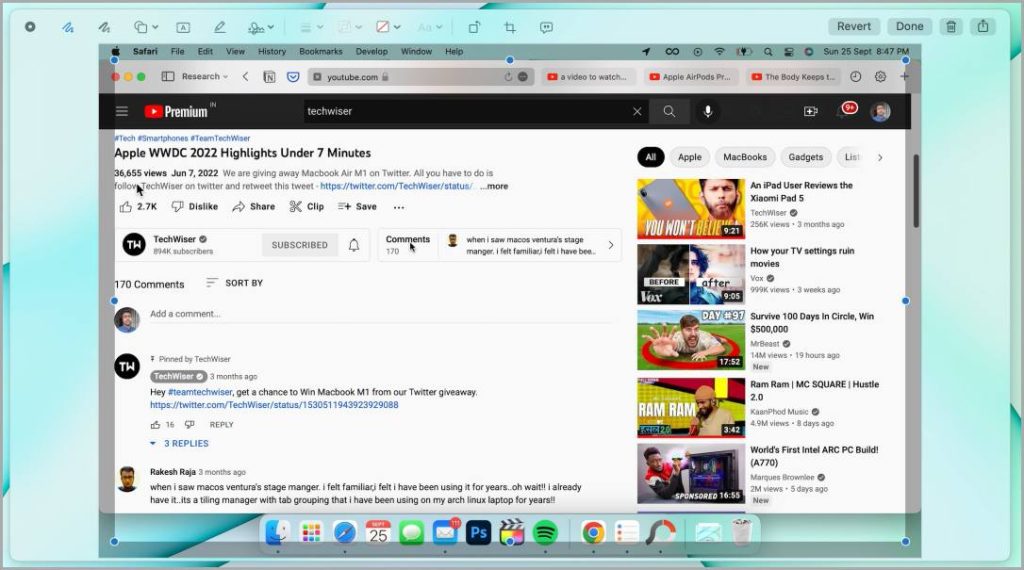
3.After chatter on the high spot option from the drop - down carte du jour , a rectangular selection will appear on the screen with adjust grip on the corner and face .
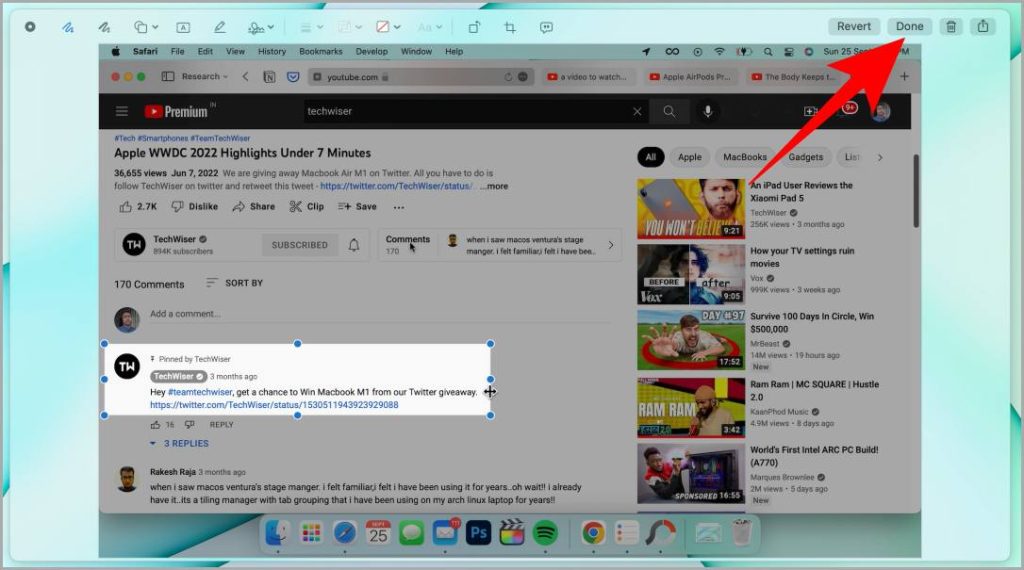
4.With the help of those handle , select the area you want tohighlightin the screenshot . After this snap onDone .
5.After clicking on Done , a screenshot with the highlighted part will besavedon the screen background just like shown below .
Annotating a Screenshot on Mac
Annotating a screenshot is as childlike as highlighting one . The use of annotation is uncouth in notes , emails , and casual productivity use . lease ’s have a look at the steps to do so .
2.Once the preview editor is clear , tap the third iconShapes . A drop - down will open with all usable flesh for annotating on the screenshot .
3.Select the one as per your need . For example , we ’re gon na go along with the arrow . press theArrowicon from the drop - down .
4.An pointer will come out in the centre of the screenshot . With the service of three dots on the pointer , you canresize and pointit in the desire way .
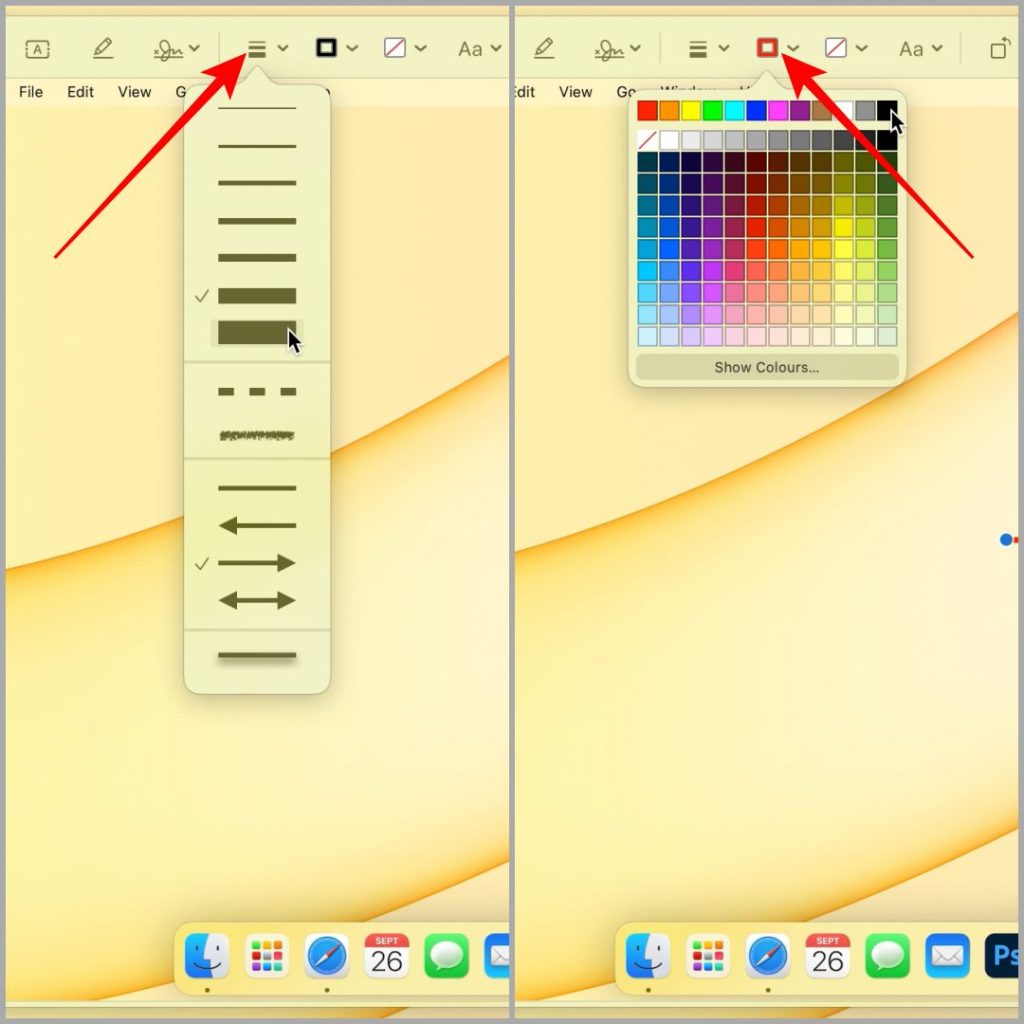
5.you’re able to furthercustomizethe pointer ( or the annotation you ’ve choose ) by change itsshape and styleand itsborder colorfrom the Preview editor in chief toolbar .
6.Once you ’re done with the customization , tick onDoneto lay aside the screenshot . And now you could share the annotated screenshot wherever you want .
Drawing on a Screenshot on macOS
If you want to line on a screenshot just like on paper , you may do that too on Mac . Let ’s have a look at how to do so .
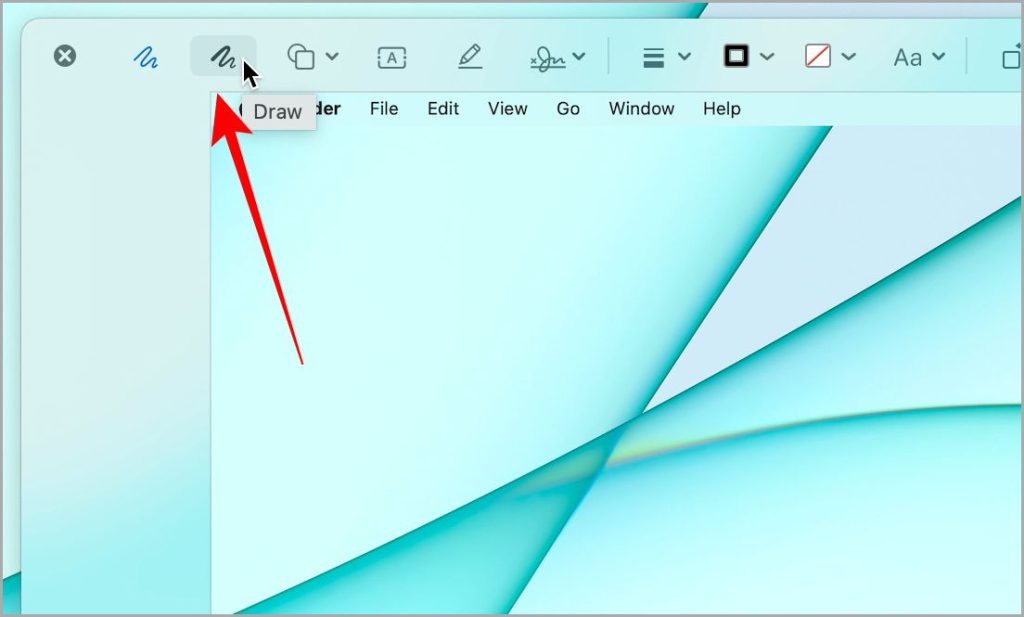
2.Once the screenshot is open in the Preview editor in chief , clickon the second selection calledDraw . This will enable you to draw on the screenshot with the service of a black eye , touchpad , and a tab or stylus ( if you are using one ) .
3.select theBorder colorto take a color for the drawing .

4.Once drawn successfully , click onDoneto save the screenshot on the desktop .
Pro Tip : you’re able to also change the thickness and style of the draught by using the optionShape Stylefrom the toolbar of the Preview editor in chief .
Edit a Previously Taken Screenshot on macOS
There might have been many instances when you need to blue-pencil a antecedently contain screenshot . Here are the easy whole tone to deal with such a scenario .
1.Locate the screenshot , individual press itto choose it .
2.PressSpacebaron your keyboard to start the screenshot in the preview mode . Once the preview is open , press the pencil icon to open it in the preview editor .
3.The preview editor will open now in front of you and now you could highlight / comment the screenshot the way you want . After highlighting / comment the screenshot click onDoneto save it .
The Highlight of the Day
To take a screenshot of the entire screen door simultaneously pressCommand + budge + 3 . To capture a section of the screen at the same time pressCommand + Shift + 4and click and drag the mouse over the field and just release it when you ’re done .
There are some ready to hand tools in the Preview editor like Draw and Shapes which allow you to draw and highlight a screenshot . alternatively of looking for an app that does all this , you may use the above - note steps to pelt along up your work flow and save some fourth dimension on your handwriting . I hope this help you speed up your screenshot biz . Also learn how you cantake a screenshot without using the powerfulness or home buttonon your iPhone .
Apple iCloud Icons and Symbols Meaning – Complete Guide
Best Macbook in Every Price Range and Use Case: Mac…
Apple Could Launch Its Updated Macbook Air With M4 Later…
Turn Any Website Into Your Mac’s Wallpaper With This App
Apple M5 Chip: Why It’s Sticking to 3nm Technology
macOS 15.2 Beta: Add Weather Widget to Menu Bar on…
How to Check MacBook Battery’s Health and Cycle Count (M…
macOS Sequoia 15.1: How to Enable and Use Type to…
6 New Features Coming to macOS Sequoia 15.1
7 Settings to Make macOS Feel-Like Windows
![]()
![]()