mesa of content
Why Should You Ditch the Snipping Tool on Windows 11
Windows 11 ’s Snipping Tool volunteer all the basic capture modes , including the ability toextract textbook from effigy . However , there are good reason for opting for an choice .
For instance , Snipping Tool lack the option tocapture scroll screenshotslike ShareX and does not support multi - monitor capture like Snagit . And while the Snipping Tool can create screen recording , it does n’t have you catch audio recording . This can be a dealbreaker if you want to record narrations , live commentary , audio - related content , and screen recording .
away from the above , switch to a third - party screen door capture tool for enhance customization and effigy editing selection .

How to Replace Snipping Tool With a Third-Party Screenshot App Like Lightshot or Greenshot
replace the Snipping Tool with a third - party app on Windows 11 is well-to-do than you might think . Here ’s how you’re able to go about it .
1.Press theWindows key + Ito unfold the configurations app .
2.Use the left pane to throw to theAccessibilitytab and click onKeyboard .
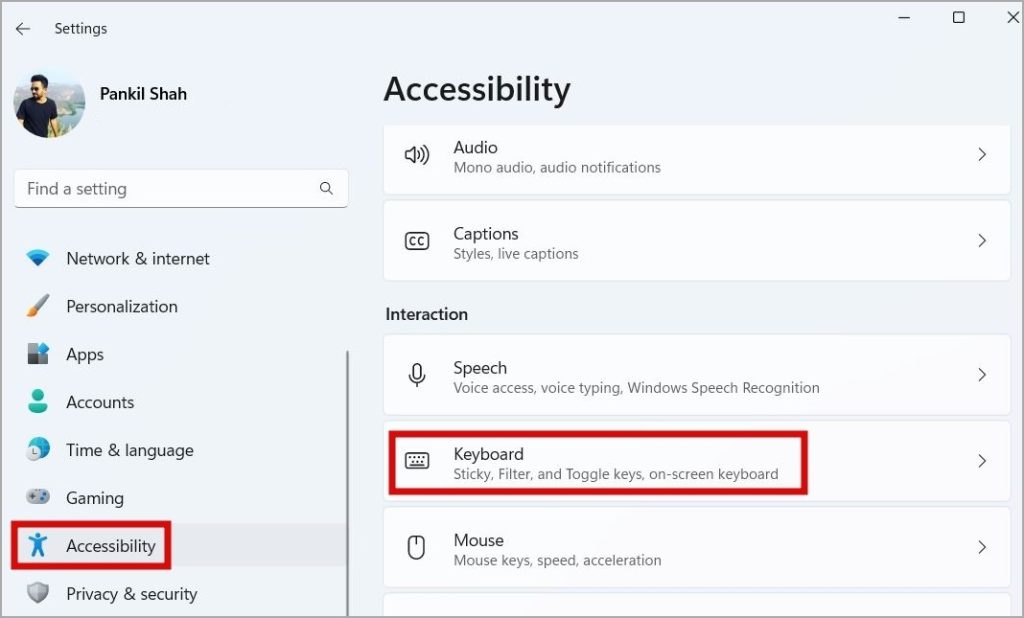
3.Turn off the on-off switch next toUse the Print silver screen button to open up screen seizure .
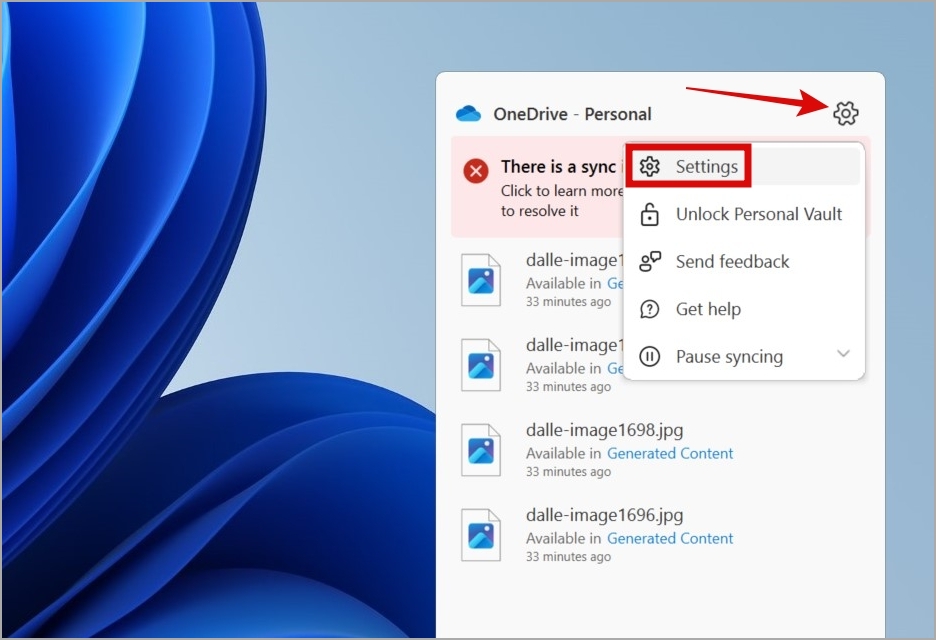
4.Next , recover and snap theOneDriveicon on the taskbar .
5.Click thegear - shapedicon at the top and selectSettings .

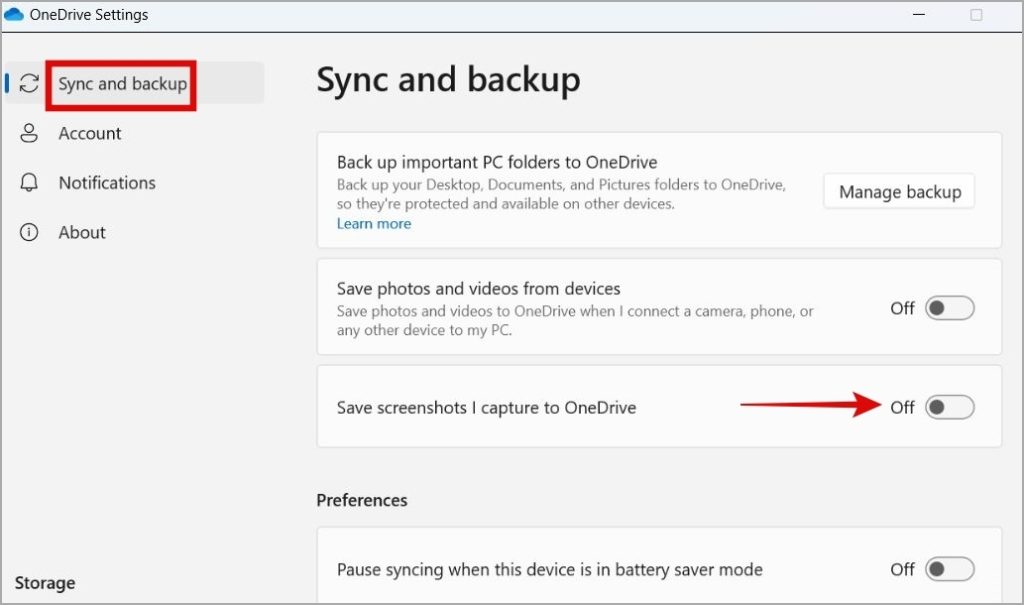
6.Switch to theSync and backuptab and turn off the on-off switch next toSave screenshots I enamor to OneDrive .
7.Download and set up the screenshot tool that you need to use .
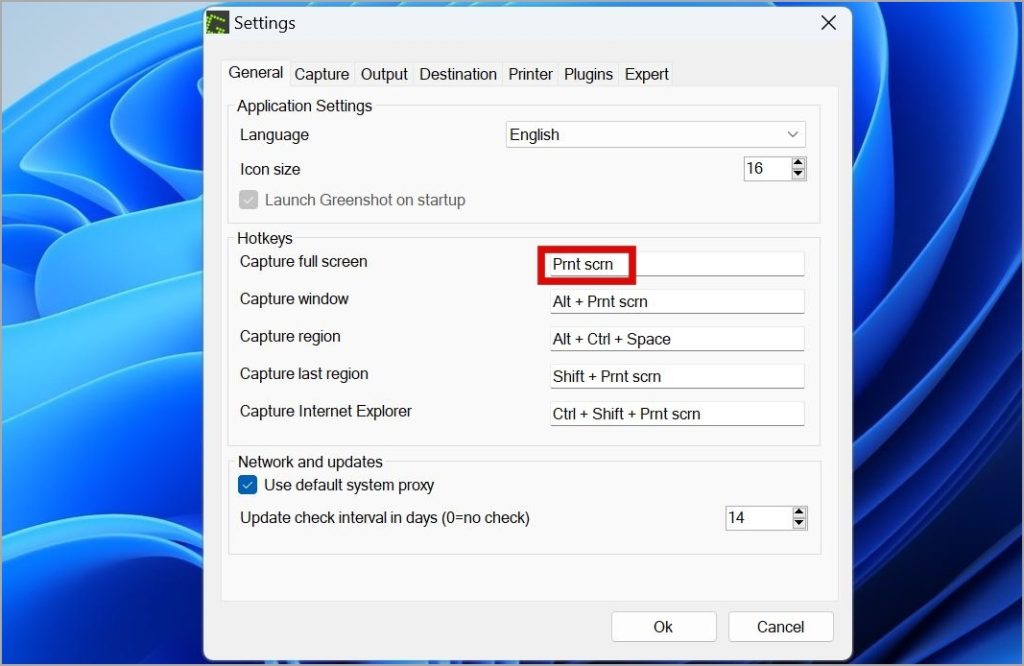
8.Open theSettingsorPreferencesmenu of your screenshot app and fructify thePrint screenbutton for capturing the screenshot .
After that , pressPrtScorFn + PrtScto access your located screenshot app instead of the default Snipping Tool on Windows 11 . mention that you will still be capable to get at the Snipping Tool with theWindows central + Shift + Skeyboard shortcut .
How to Disable or Uninstall the Snipping Tool in Windows 11
By nonremittal , the Snipping Tool has a dedicated keyboard combination to use it on Windows 11 . But if you do n’t design to utilize it , you may disenable the Snipping Tool alone . Here are a duo of way you may do that .
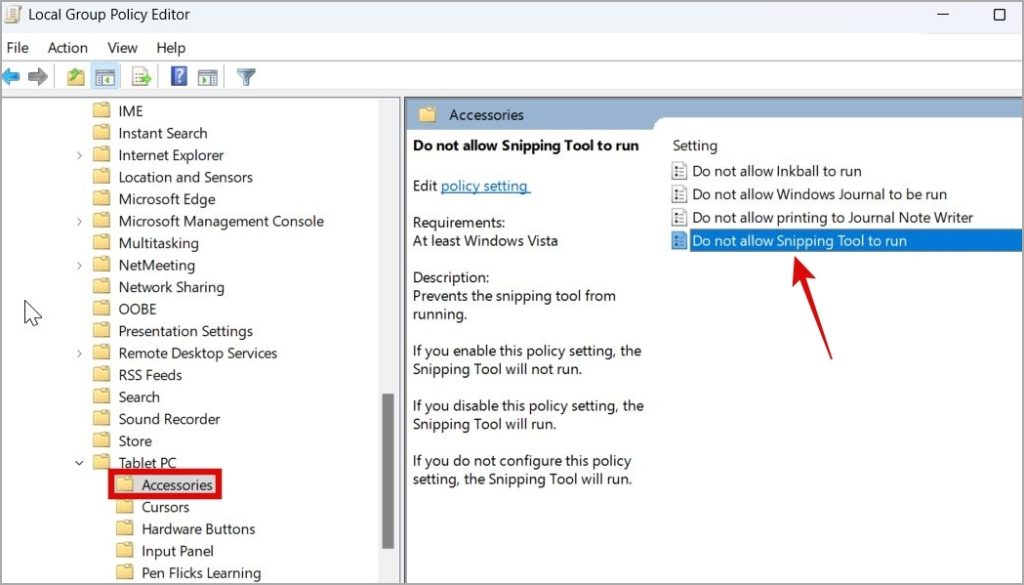
1.Press theWindows cay + Rto give the Run dialogue box . Typegpedit.mscin the box and pressEnter .
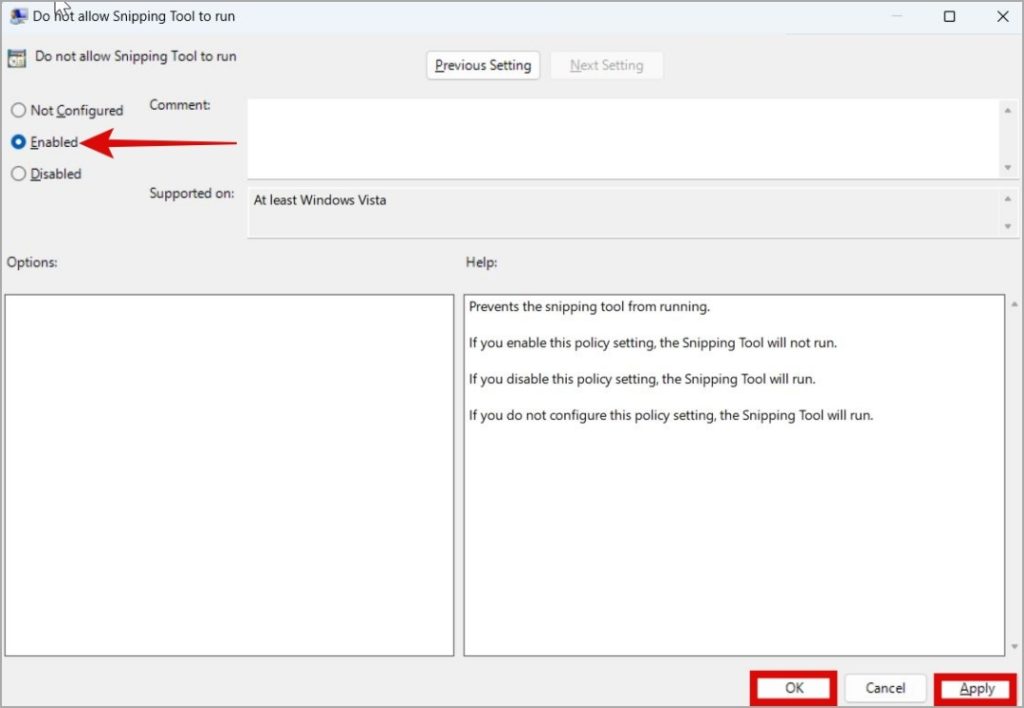
3.Double - click theDo not allow Snipping Tool to runpolicy on your right wing .
4.SelectEnabledand then hitApplyfollowed byOK .
reboot your PC for changes to take issue . After that , when you seek to give the Snipping Tool , you will see a prompt that state – Windows can not open this programme because it has been prevented by a software package confinement policy .
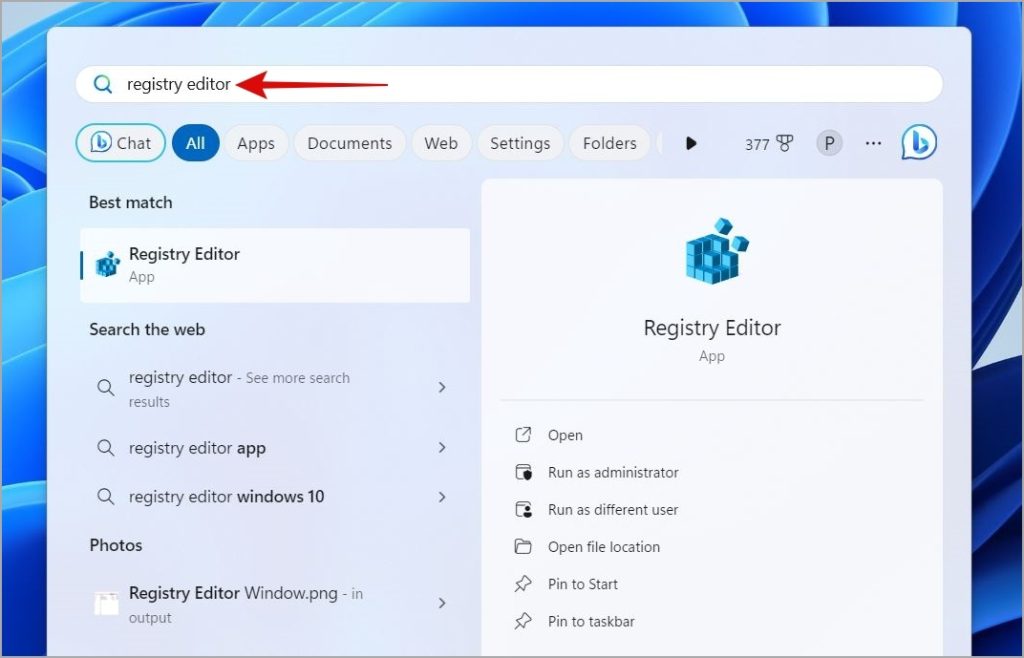
1.Press theWindows samara + Sto open up the search menu . Typeregistry editorin the box seat and pressEnter .
2.In the address bar at the top , glue the follow path and pressEnter .
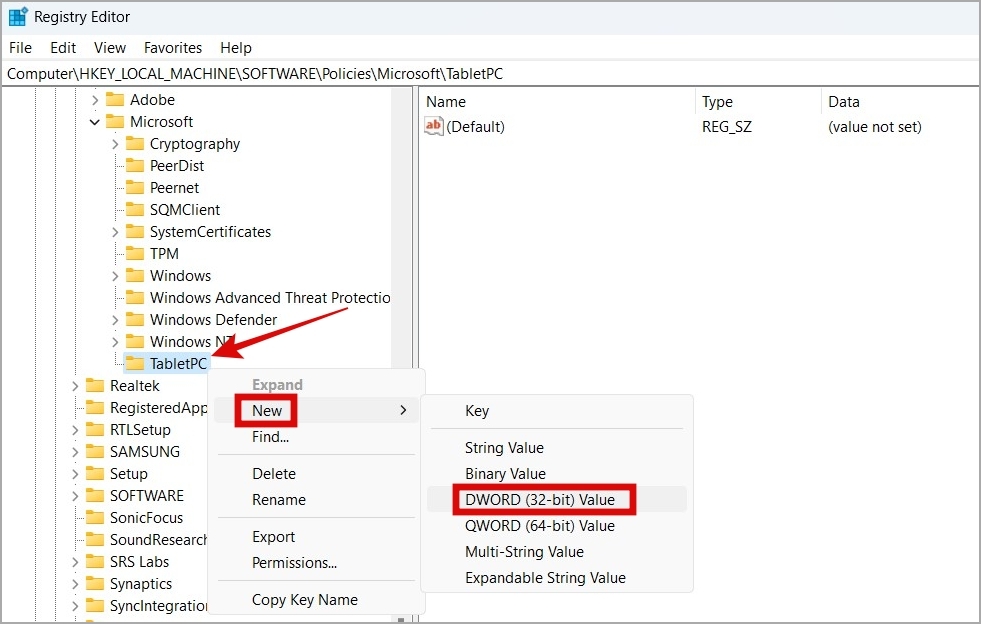
3.Right - press theMicrosoftkey and selectNew > Key . Name itTabletPC .
4.Right - select theTabletPCkey and selectNew > DWORD ( 32 - spot ) note value . Name itDisableSnippingTool .

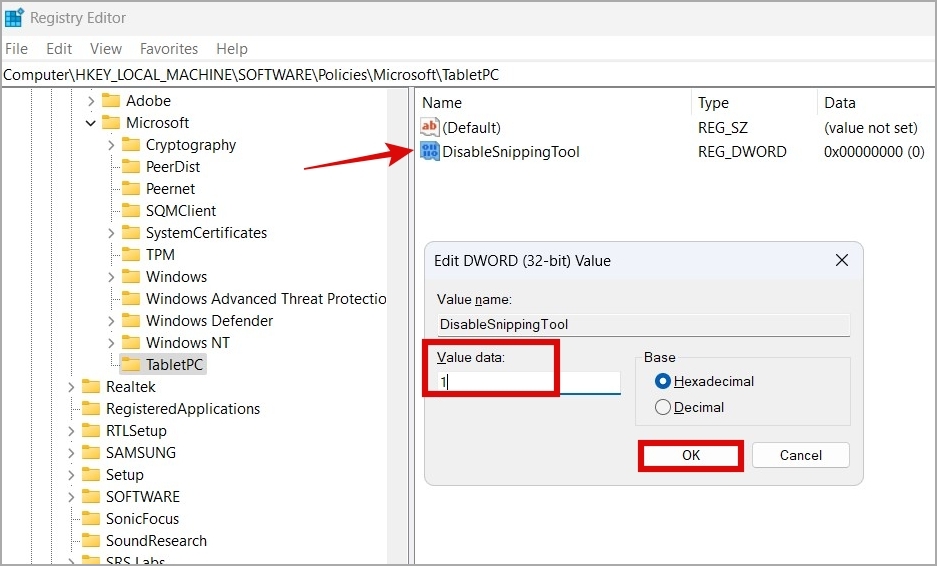
5.Double - tap the newly created DWORD , type1 in the textbook boxwood , and clickOKto preserve your change .
restart the personal computer to apply the changes and the Snipping Tool will be disabled .
Uninstall the Snipping Tool From Windows 11
you’re able to uninstall Snipping Tool just like any other app on Windows 11 . Here are the footstep .
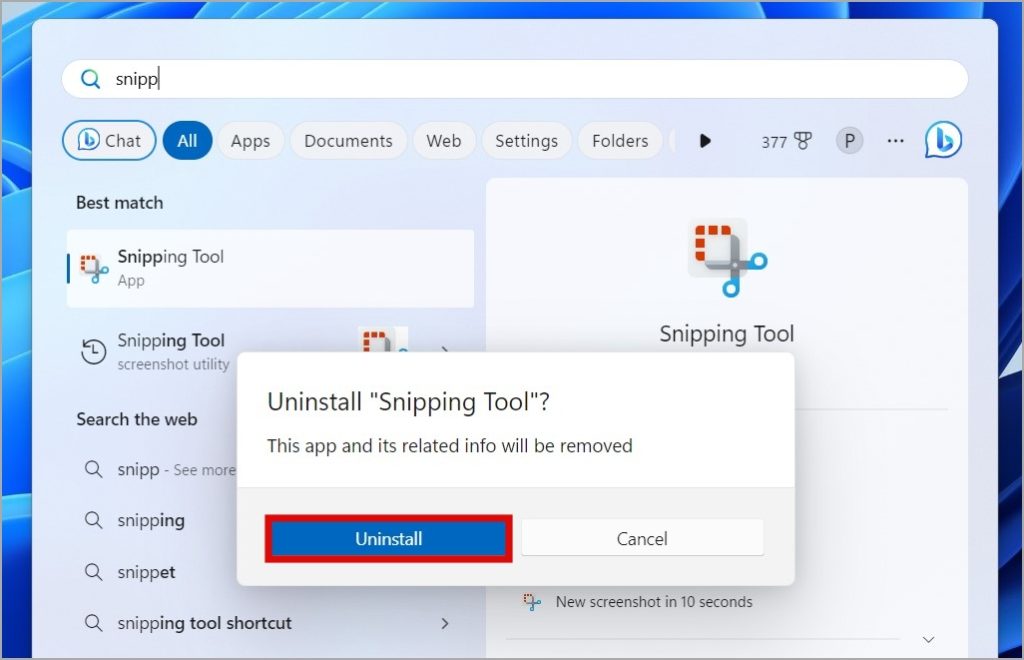
1.Press theWindows key + Sto afford the search carte du jour . Typesnipping toolin the box , correctly - penetrate on the first result , and selectUninstall .
2.SelectUninstallagain to support .
Snipping Tool will be polish off from your personal computer . Of course , you candownload the Snipping Toolfrom the Microsoft Store again .
Upgrade Your Capture Game
If your work involves frequent screenshot - taking andscreen transcription , put back the Snipping Tool on Windows 11 with a more feature - ample app make sense . Thankfully , the process is n’t complicated at all if you follow the step outline above .
Microsoft OneNote Icons and Symbols Meaning – App/Desktop
50 Years of Microsoft: 11 Times Microsoft Fumbled and Missed…
How to Transfer Windows 11 to a New Drive/SSD (Step-by-Step)
Microsoft Office is Now Free on Desktop – But With…
How to Install Windows 11 on PC With Unsupported Hardware
Windows 10’s End is Near: What Are Your Options?
Windows 11 Camera Not Working? Here’s How to Fix It
Windows 11 “Resume” Feature: Seamlessly Switch Devices
Windows 11 Installation Has Failed? Easy Fixes to Try
Windows 11’s Multi-App Camera Support: How to Enable and Use…