Google Docs was chiefly design to be a word processor tool , one that took a web - first approach shot . That intend no screen background apps . before long , Google started add other features like the ability to add andedit images , draw and sign documents , and so on . The image editor in chief has come a long way since and can be used to make quite a few edits if you lie with where to expect and what to do . One such trick is layering and grouping images in Google Docs . You . no longer have to use third - company apps now .
How to Layer and Group Images in Google Docs
you’re able to apply this method to not only layer images on top of one another , but also text . This summons is called overlay and while there is no verbatim manner to achieve , there are a few workaround . Here ’s how .
Layer Images in Google Docs With Google Drawings
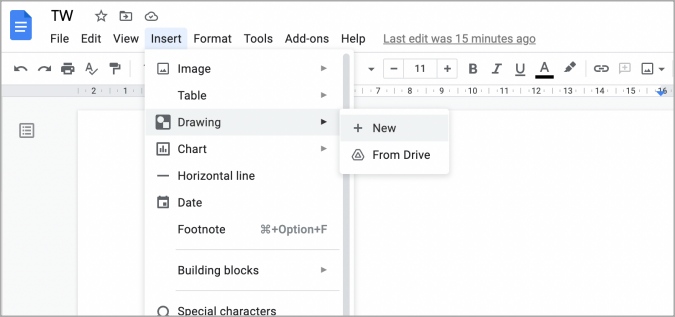
1.Open Google Docs document and selectInsert > absorb > New .
2.Drawing tool will open up in a protrude - up bill of fare as it is integrate within Docs now . Select the image picture to add the base level image on top of which , you would care to total another image or textbook .
3.Another pop - up will open where you will have a variety of pick to launch the image . Google Drive , local drive , and so on . Just get the icon and unfold it in Drawings app .
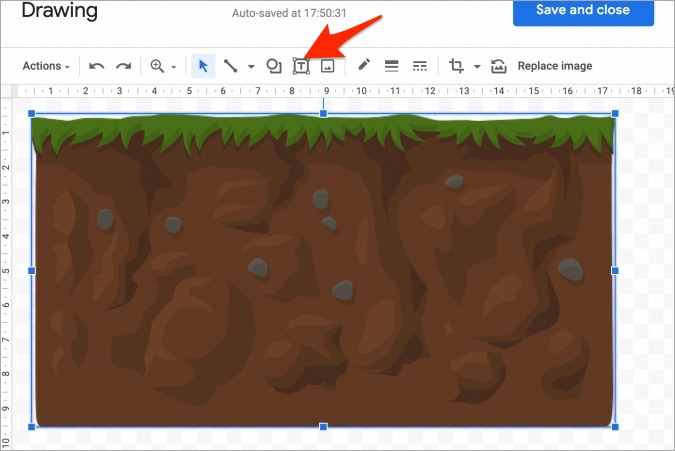
4.you may now sum up or layer another image on top of the first image or add textbook . To add an trope , accompany the same steps . To summate school text , press theText boxicon first .
5.Draw a text box where you need to add schoolbook and character whatever you want to . Then select the text and you could easily initialise it using the toolbar that should be visible now . Formatting options include font character , size , and color among others .
6.Similarly , you could add an prototype on top of another icon and then edit it to your liking . Once you are satisfied with the end result , chatter onSave and Closebutton to bestow it to the Google Docs document .

Also Read : How to Make a board of Contents in Google Docs
Layer Images in Google Docs Using Wrap Text
Okay , so why do we need this method if Drawings knead well ? The understanding is that with wrap text , you may speedily convert the overlay image on the go . While Drawings is more useful if you require to overlay text or need more control over layers . But it is also time - consuming . This is quicker .
1.reach the document in Google Docs and click onImage > Insertand select the image you want to add . It does n’t count if the picture is supposed to be in the foreground or ground .
2.Repeat the same steps and contribute the second image now that you want to be layered on top of the first . By default , Docs will put these images one below the other instead of one on top of the other , like so .

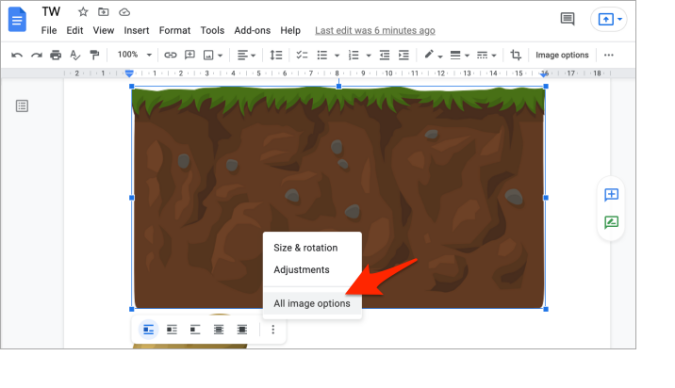
3.Now take the first image that you add together and in the toolbar that pops up , tap three - dot menu icon to selectAll image pick .
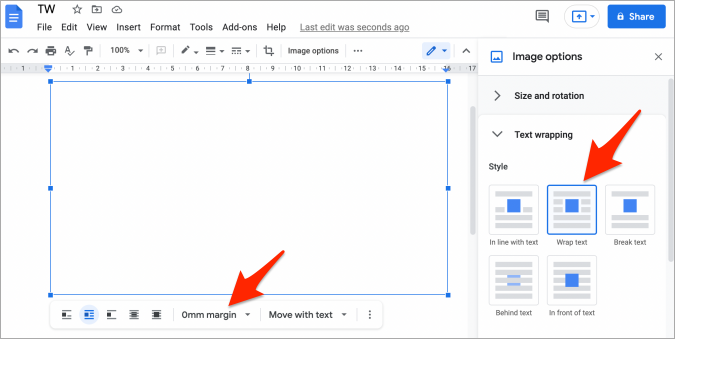
4.TheImage optionspanel will come along in the sidebar . SelectWrap textoption and then mighty below the image , set the margin from the dropdown menu to 0 mm ( zero ) .
5.Repeat the same stair for the second image too that you require to layer on top of the first . Select Wrap text edition selection and set the margin value likewise .
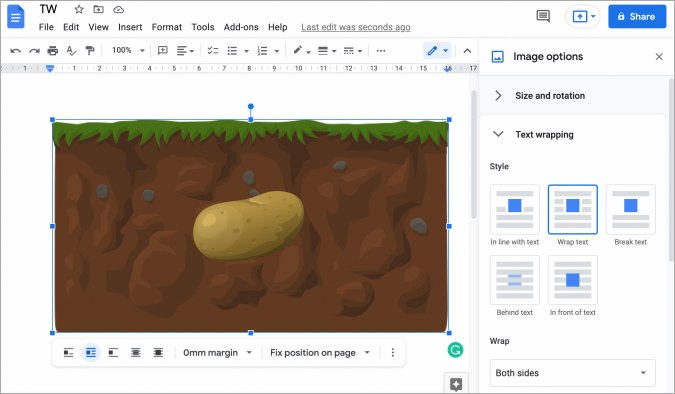
Note : If the postition of the text edition in the written document is moving around , selectFix position on pageinstead ofMove with textoption in the dropdown bill of fare in good order next to where you set the margin . you may check out in the screenshot above .
6.Now all you have to do is get behind one mental image on top of the other and position it however you like . It is that easy to layer one image on top of the other using this trick .
Wrap Up: Layering and Grouping Images in Google Docs
The first method takes more time but offer more control and flexibleness . Plus , you could utilize it to add text edition and format it . The 2d one is quick and easier to expend but works best for image . Also , because it is working outside Google Drawings app , it offer much less ascendance over the locating of the trope . Google Drawings , while limited itself , still offer several feature of speech over what we saw later .
Meanwhile , here are some of the bestGoogle Docs shortcutsyou should endeavor to make your life easy and more playfulness .
38 Google Earth Hidden Weird Places with Coordinates
Canva Icons and Symbols Meaning – Complete Guide
What Snapchat Green Dot Means, When It Shows, and for…
Instagram’s Edits App: 5 Features You Need to Know About
All Netflix Hidden and Secret Codes (April 2025)
All Emojis Meaning and Usecase – Explained (April 2025)
Dropbox Icons and Symbols Meaning (Mobile/Desktop) – Guide
How to Enable Message Logging in Discord (Even Deleted Messages)…
Google Docs Icons and Symbols Meaning – Complete Guide
Samsung Galaxy Z Fold 7 Specs Leak Reveal Some Interesting…