In MS Word , two image will typically come out one above the other . you’re able to not well move or keep two images side by side becauseworking with picturesis quite wily in MS Word . However , do n’t worry . In this post , we will point you on how to put two pictures side by side in MS Word in four way of life .
Table of content
1. Using Drag and Drop
One of the well-situated style to keep two pictures side by side in Word is by using the drag and drop functionality .
Drag and Drop on PC and Web
observe : The screenshots are taken on the PC version of Microsoft Word but they are the same on the web as well with a minor difference in the user interface .
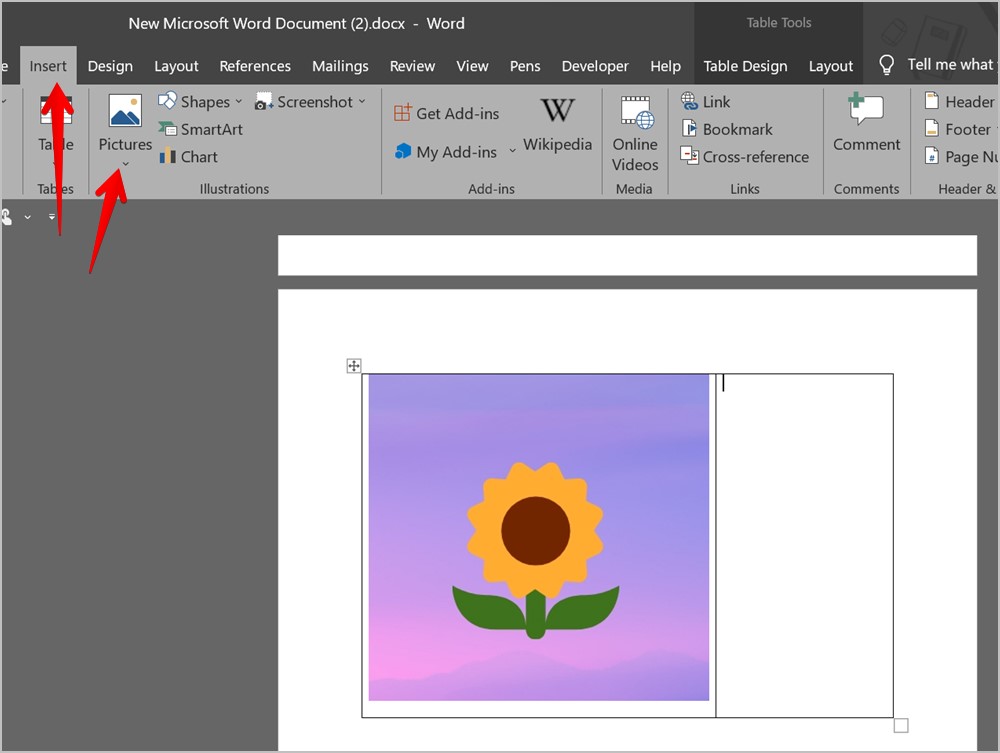
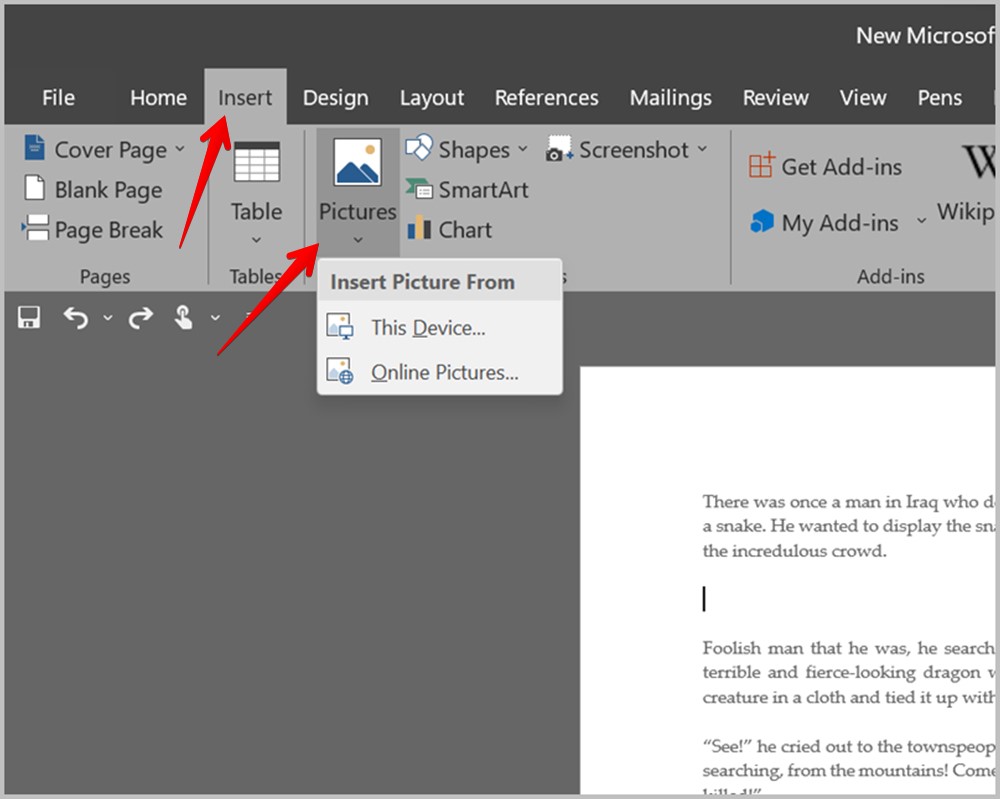
1.Insert the first persona in your Word document by going toInsert > Pictures .
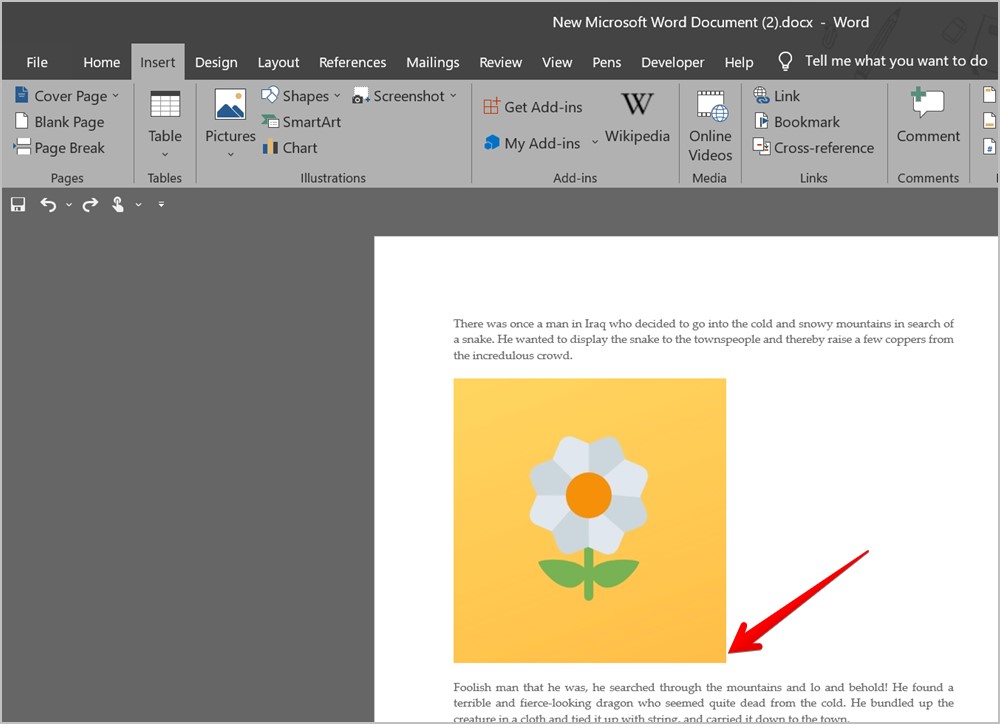
2.Now , keep the pointer at the bottom - right corner of the first picture and add together the 2nd mental picture fromInsert > motion-picture show .
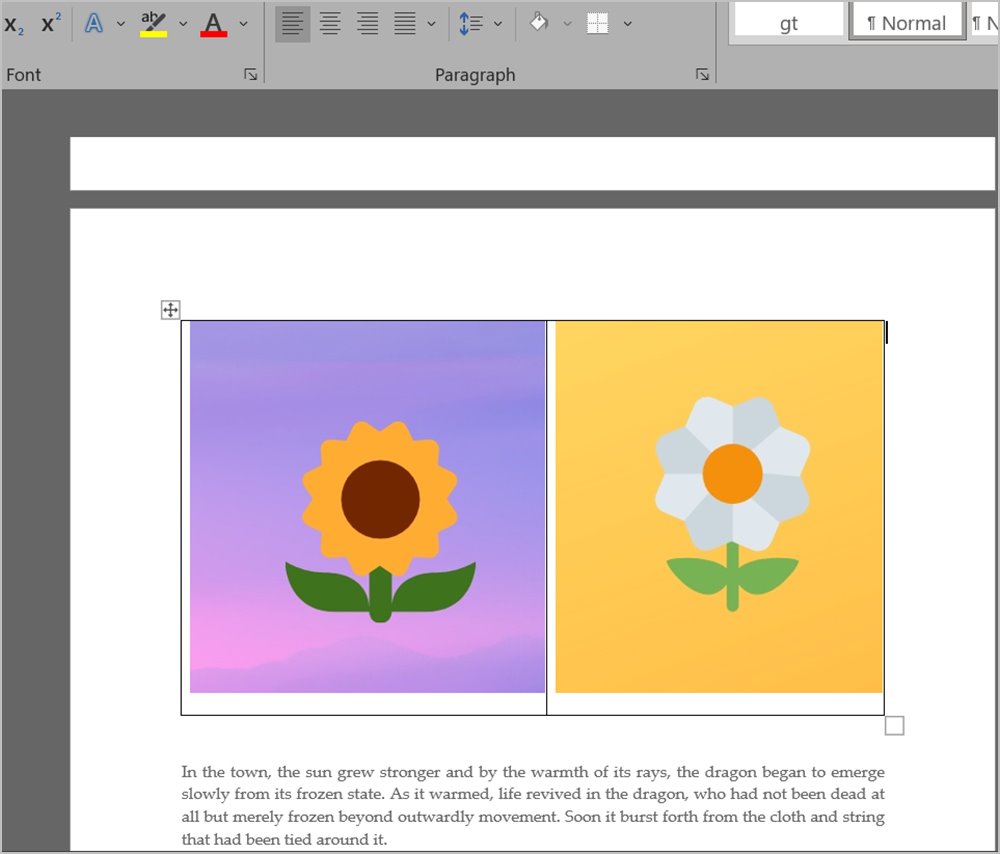
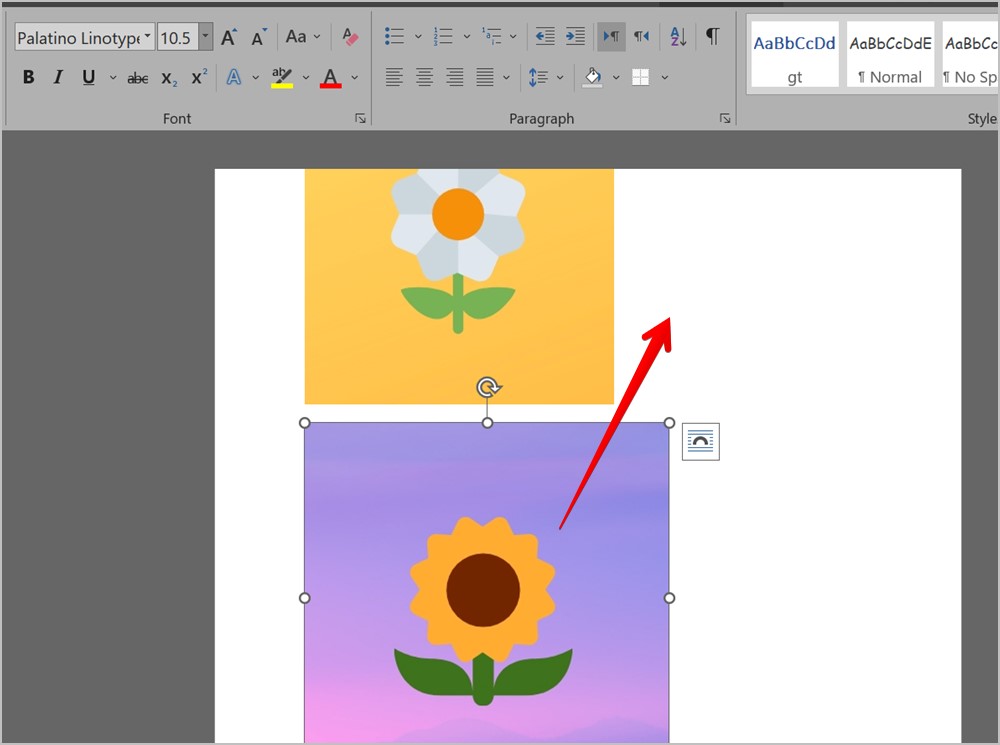
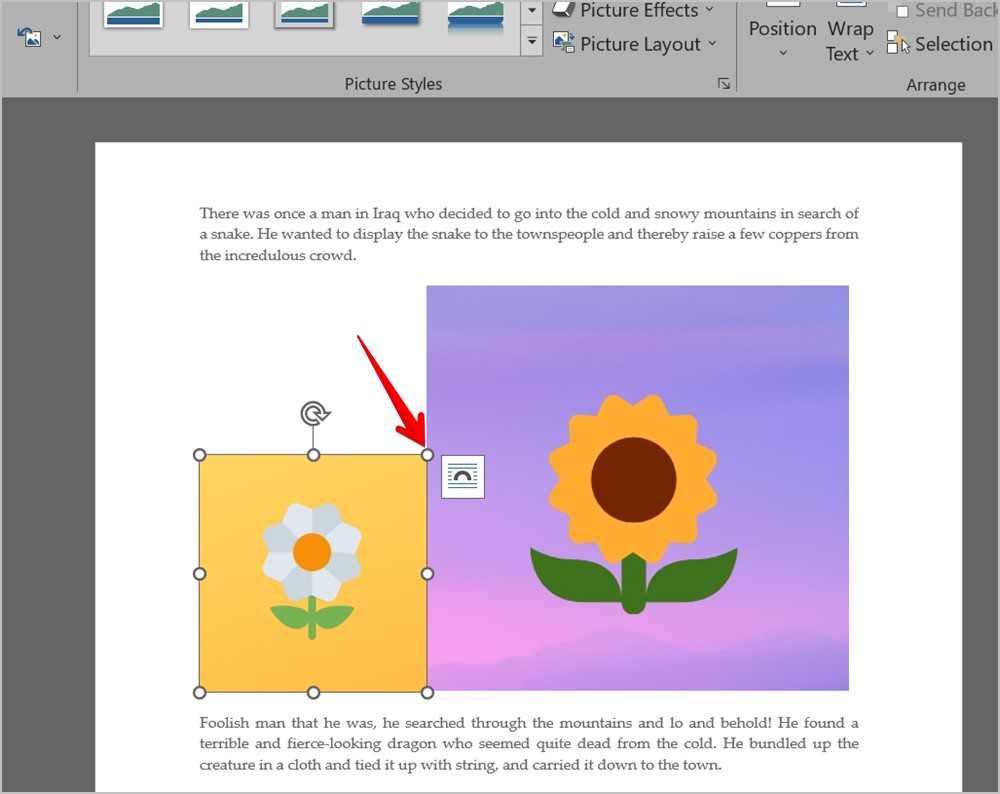
3 . The two characterisation will show up one above the other . Now , tap the second picture to select it . Afour - sided arrowwill show up on the image . Hold the black eye push and get behind the 2d image to the correct side of the first picture .
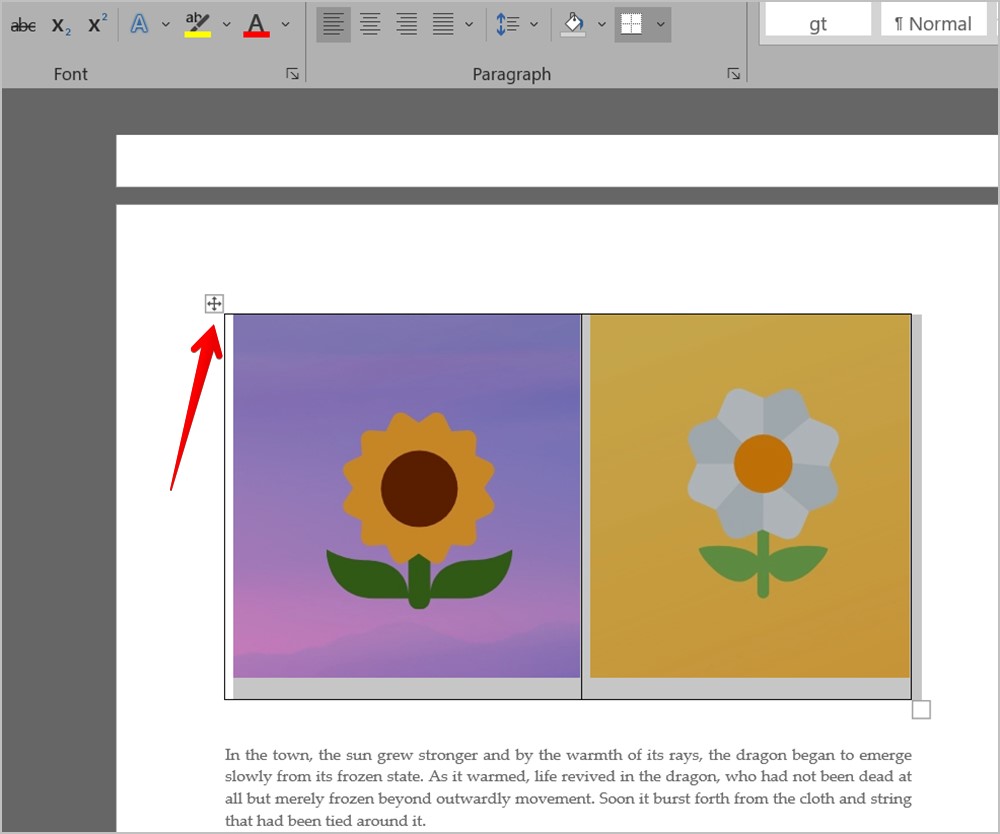
4 . If nothing happens , press the first image and make it littler using the top - good corner edge until the second image automatically seem next to the first image .
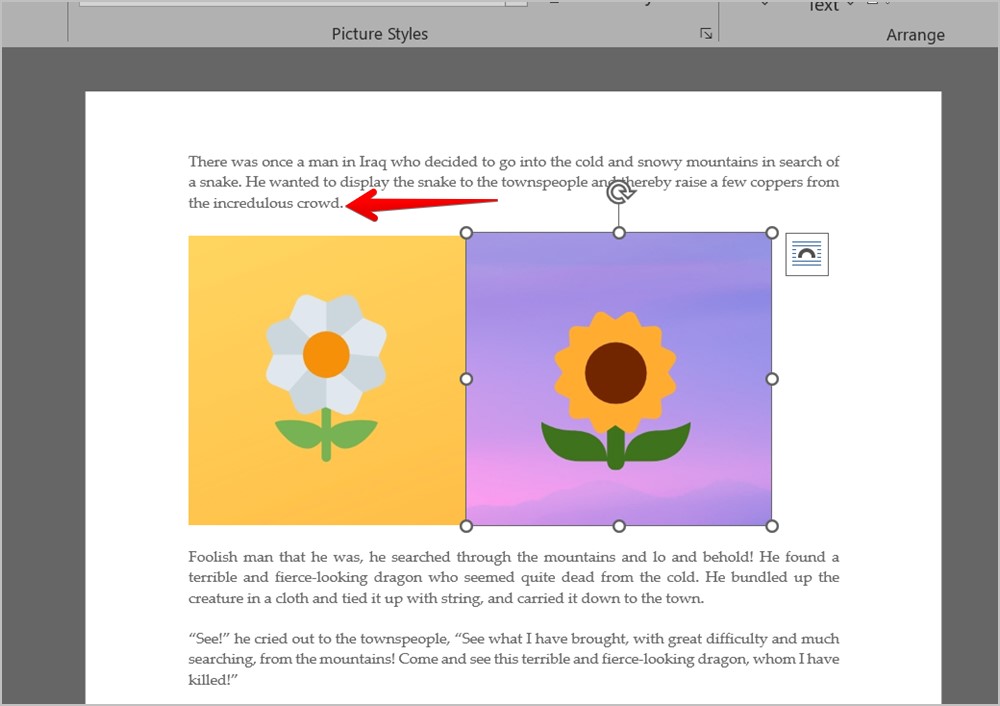
Note : If the above step displaces your textbook , double - pawl on the first image to start the Picture Format tab . Then , click onWrap textand selectIn line with text . Do the same for the 2d image as well .
5.You might notice that the two images are not of the same size . penetrate on the second image and resize it until the two images are of the appropriate sizing . you could also resize the first image .
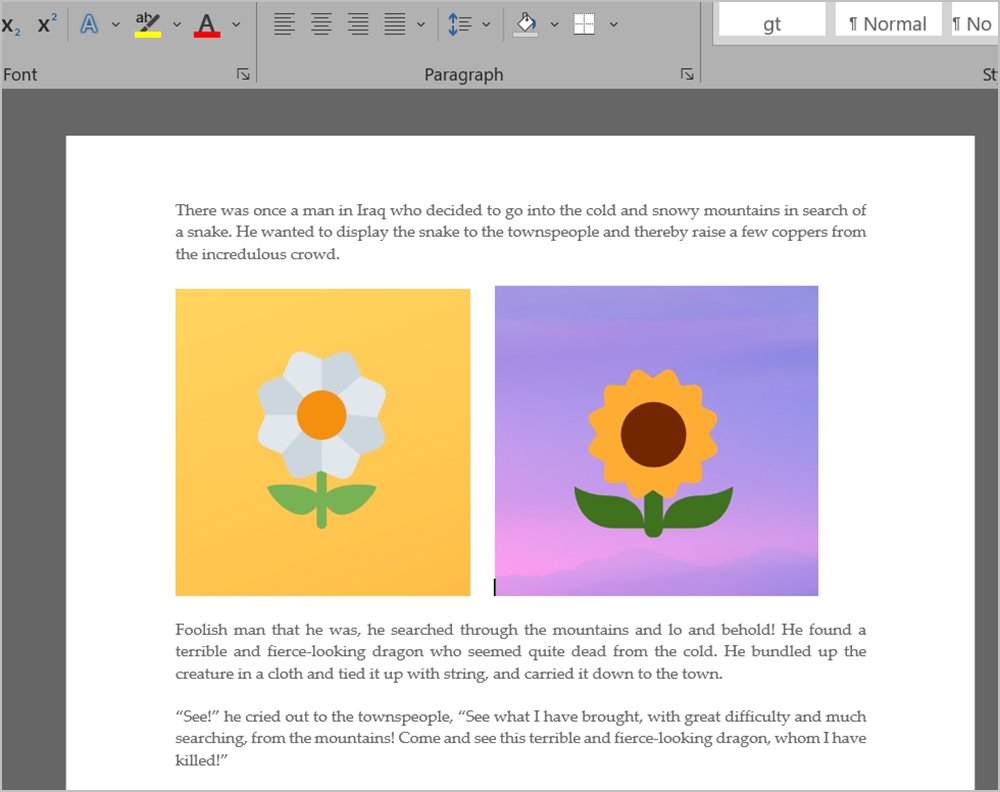
6 . When the two images are of the desired sizing , put the cursor at the end of the line above the image .
7.Now , move the cursortwiceusing the correct arrow button on your keyboard . The pointer should show up between the two image . push the Spacebar key multiple times to add together some distance between the two images grade next to each other .
Drag and Drop on Android and iPhone
1 . launch the Word text file where you want to add the images .
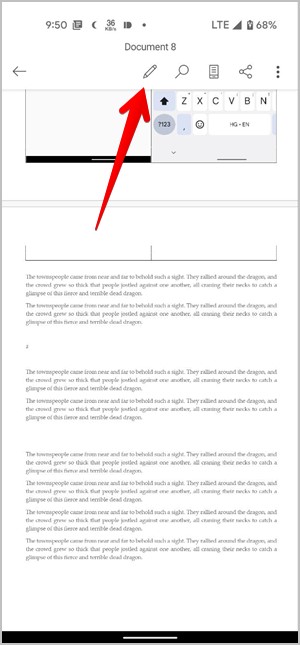
2.Tap on theEditicon at the top to start editing the document .
3 . Place the cursor where you want to add the image .
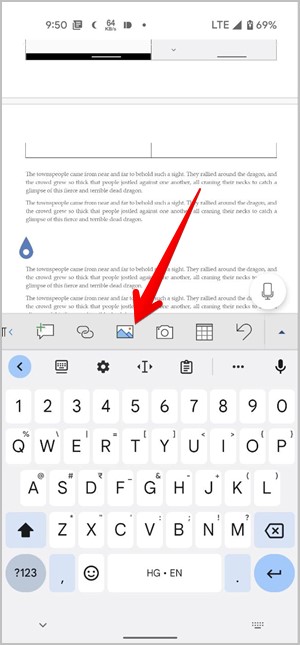
4 . Swipe left on the toolbar at the bottom until you see thePictureicon . water tap on it . choose the first ikon . Similarly , bestow the second image .
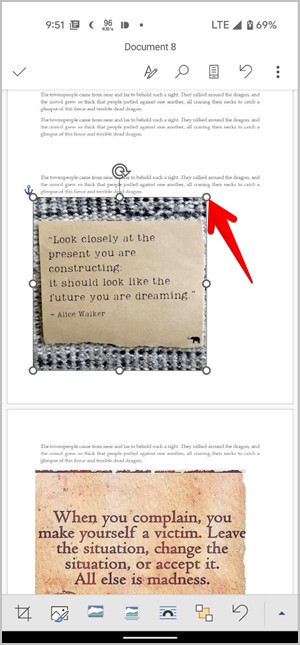
5 . After adding both the paradigm , tap on the first trope to select it . Then , make it small using the recession border .
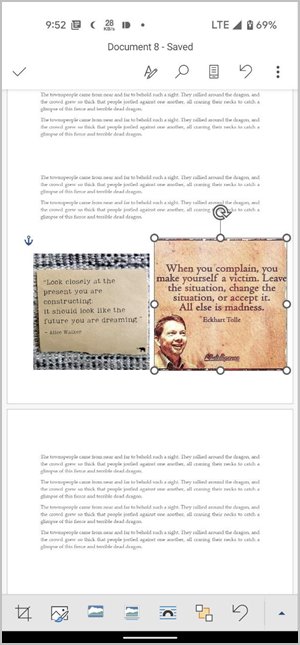
6.Now , touch and hold the second image and sweep it next to the first image . You might have to resize both images to ordinate them neatly .
2. Using Table
If the above method acting does n’t work or seems cumbersome , then you should try putting two moving picture side by side using a table . Basically , you want to add a table with two columns and one row . Then , insert an image in each pillar and finally remove the mesa border .
notice : This method acting works on Word mobile apps as well . The footprint are standardised to that of a personal computer . All you need to do is quality Table and Pictures from the toolbar at the bottom of the papers .
Here is the step - by - footfall guide for the same :
1 . enter the Word document on Windows , macOS , or the vane variation .
2 . Keep your cursor in a new stemma and at the seat where you want to add images .
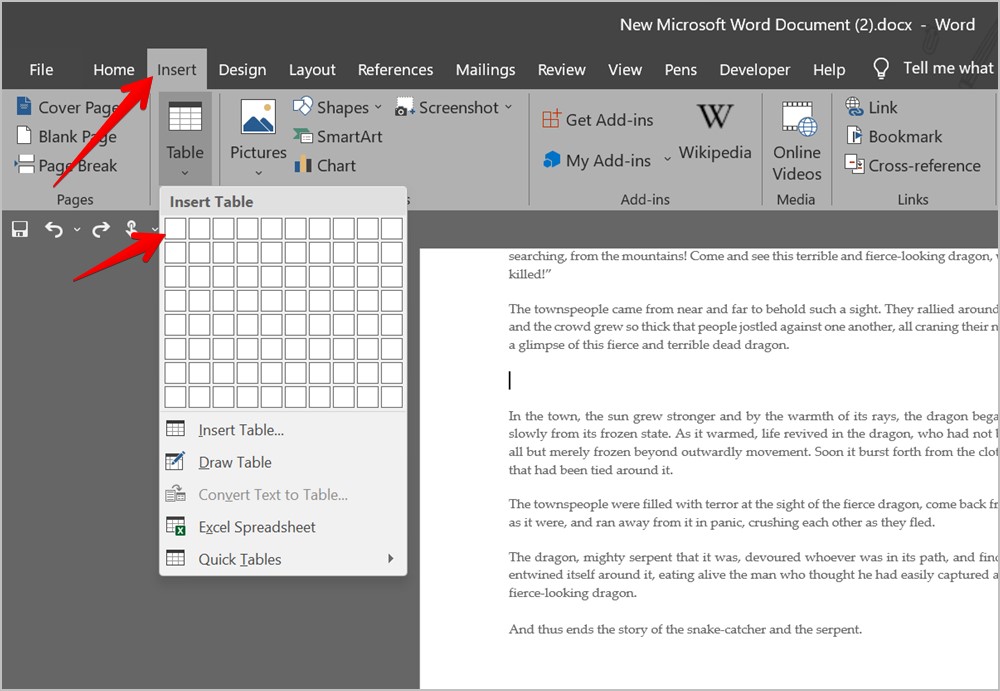
3 . Click onInsert > Table . Select2 * 1table .
4 . target the cursor in the first column and add the first image by going toInsert > Pictures .
5 . Then , rank the cursor in the second chromatography column and put in the 2d image from Insert > Pictures .
6 . Resize both the images using respective corner boundary to the desired size of it .
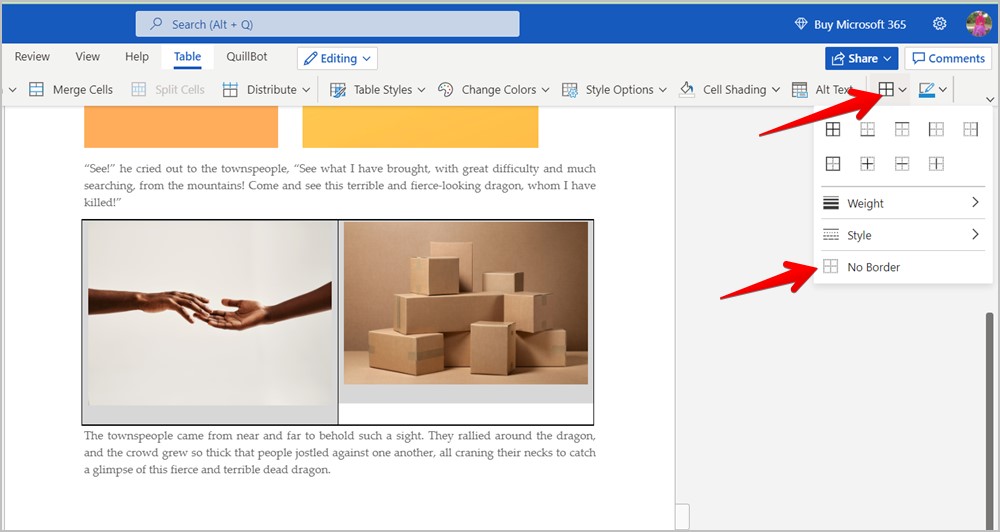
7 . Now , you need to bump off the mesa mete . For that , hover your mouse over the table and snap on the four - sided icon that come out at the top to choose the board .
8 . On PC , fall into place on theBorder styleicon and chooseNo borderfrom the leaning .
On the web version , select theBorder selectionicon in the top bar and chooseNo borderfrom the menu .
That ’s it . Now , you have two images side by side in your password document .
Pro Tip : Learn how toimport tables from websites into Google Sheets .
3. Using Text Box (Windows, macOS)
1.In the Word document , place the cursor where you need to add together the images . seek to add it in a raw air .
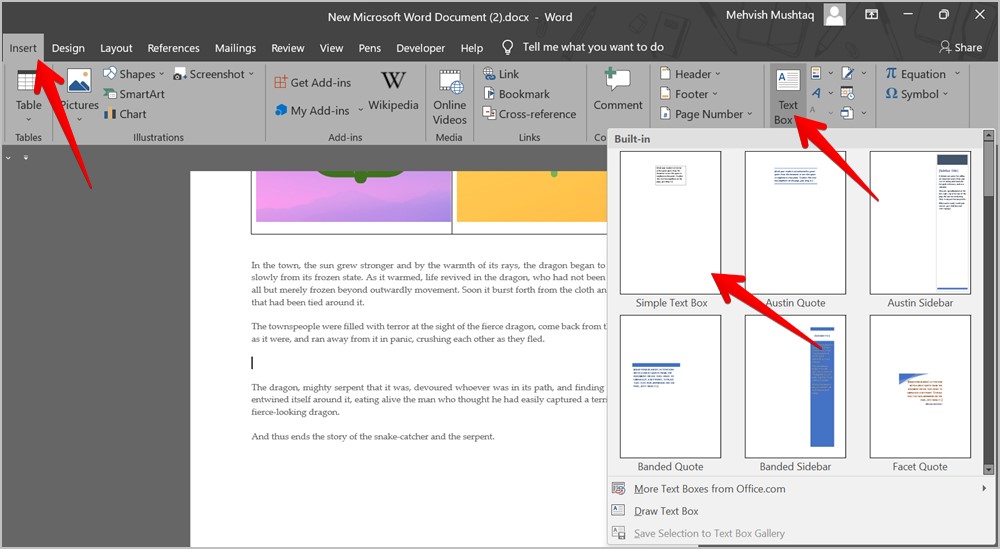
2.tap theInserttab in the menu bar . Go toText boxand selectSimple text box .
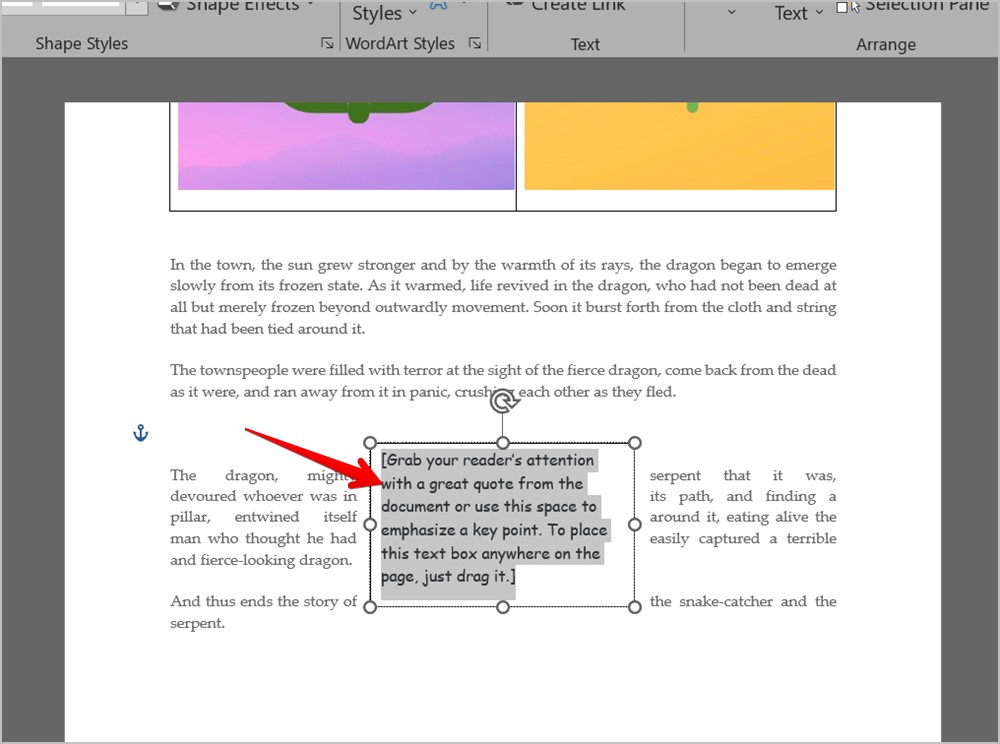
3 . Delete the text from the textual matter box seat using theDeletebutton .
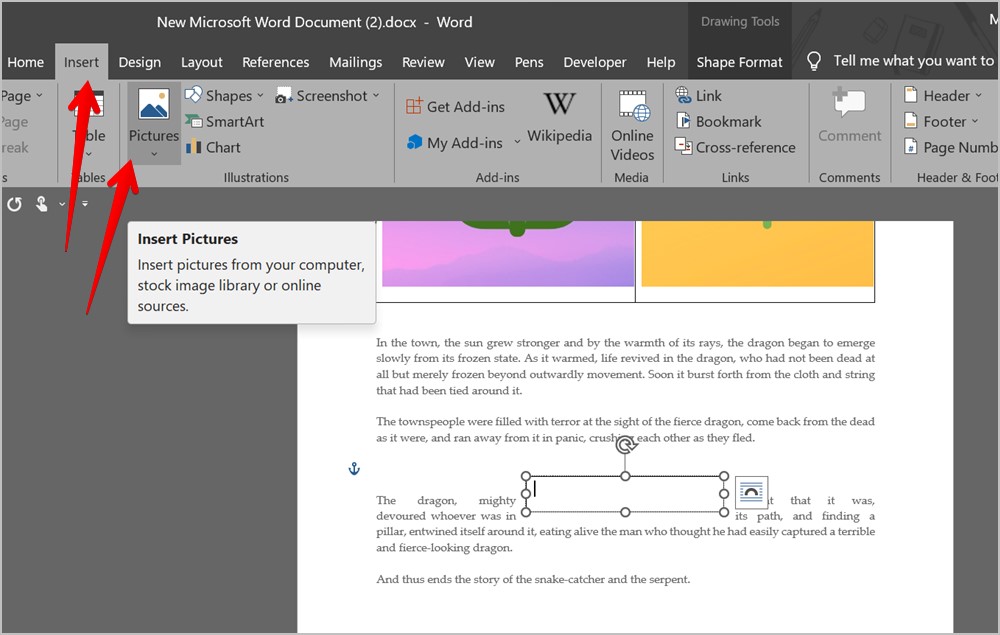
4.Now , go toInsert > Picturesand add the desired persona .
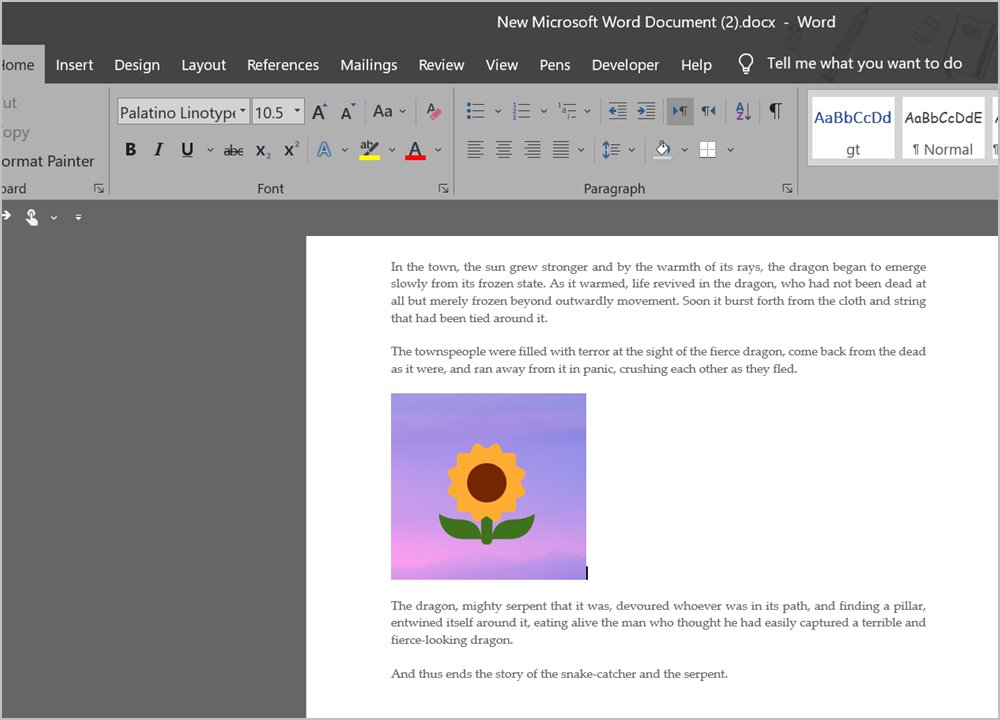
5.Drag the image to wherever you want to keep it on the page .
6.Now , repeat steps 2 - 5 to add up the second image and keep it next to the first persona . Resize the images to suit your motivation .
observe : Delete any extra text boxwood that might show up .
4. By Creating a Collage
If you do n’t like any of the above methods , you could first create a collage using online tools or any software package and seat range of a function next to each other . Then , insert the montage into your Word text file just like you would add any veritable picture .
Some of the on-line collage makers that you may try are :
you could evencreate a montage on your Samsung Galaxy phoneorput two image side by side on Androidand transference that picture to a computer .

Know MS Word
I hope you were capable to put two mental picture side by side using the above methods . There are other things that you could do in Word but they might appear sly . For example , learn how toadd a signatureand how tocreate water line templatesin MS Word
Microsoft OneNote Icons and Symbols Meaning – App/Desktop
50 Years of Microsoft: 11 Times Microsoft Fumbled and Missed…
How to Transfer Windows 11 to a New Drive/SSD (Step-by-Step)
Microsoft Office is Now Free on Desktop – But With…
How to Install Windows 11 on PC With Unsupported Hardware
Windows 10’s End is Near: What Are Your Options?
Windows 11 Camera Not Working? Here’s How to Fix It
Windows 11 “Resume” Feature: Seamlessly Switch Devices
Windows 11 Installation Has Failed? Easy Fixes to Try
Windows 11’s Multi-App Camera Support: How to Enable and Use…