If you have to edit a picture in Word , there ’s no need to download anythird - party photo editoron your personal computer . Microsoft Word offers an interesting pic editor in chief that permit you perform many photo redaction tasks . you’re able to crop the look-alike , resize , throw , and sum up effects and filters to it . you’re able to even move out the background or compress a picture right inside your Word document . We have already coveredhow to crop a motion picture in Wordin our consecrated situation . Let ’s check other tips to edit a picture or screenshot in Word .
mesa of Contents
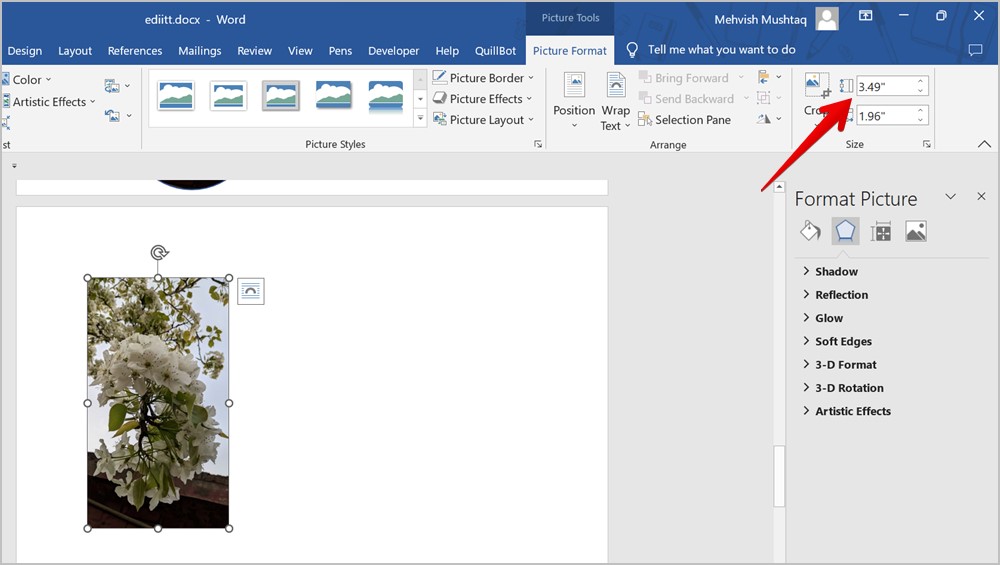
1. Resize Picture in Word
There are three ways to resize your prototype in Word . In the first method , press the word-painting once to choose it . Then , drag the image in or out using the rotund icons at the corner edges .
Another way to switch the size of it of a picture in Microsoft Word is to double - snap on the image . That will enter the Picture Format toolbar at the top . Here you want to manually accede the needful width and height for the image in the available box in the Size discussion section .
Alternatively , you could even right on - tap the epitome and select the Size and Position choice .
Tip : hold out other ways toresize a exposure on Windows PC .
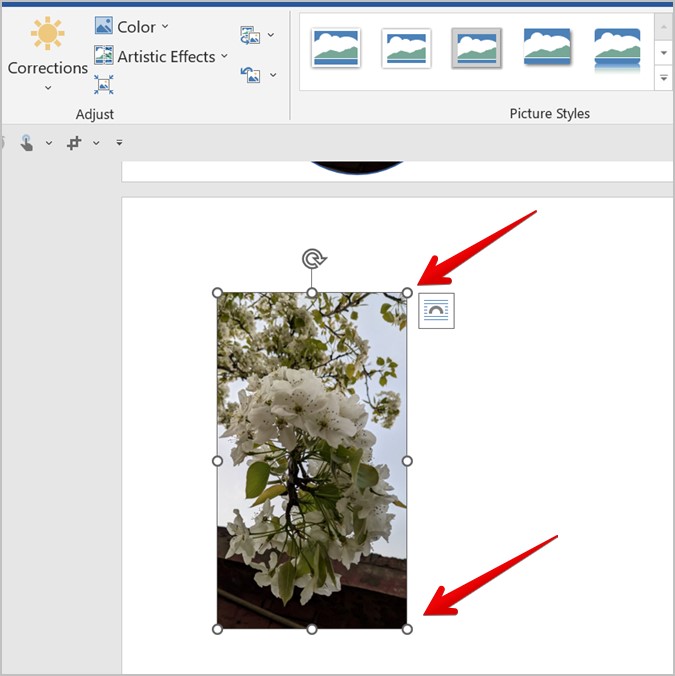
2. Flip the Image
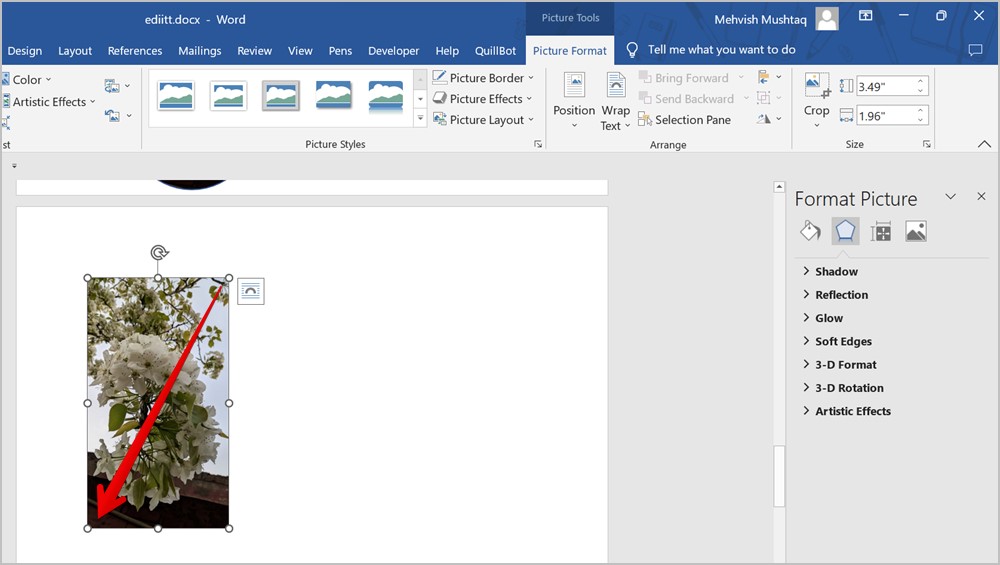
To switch an image promptly in Word , tap it once to select it . Then , hold and drag any one of the four turning point butt on to the opposite end .
To flip an image horizontally , you need to drag out it from the right to the left corner or frailty versa . Similarly , to interchange it vertically , drag on it from top to bottom or vice versa .
3. Rotate the Image
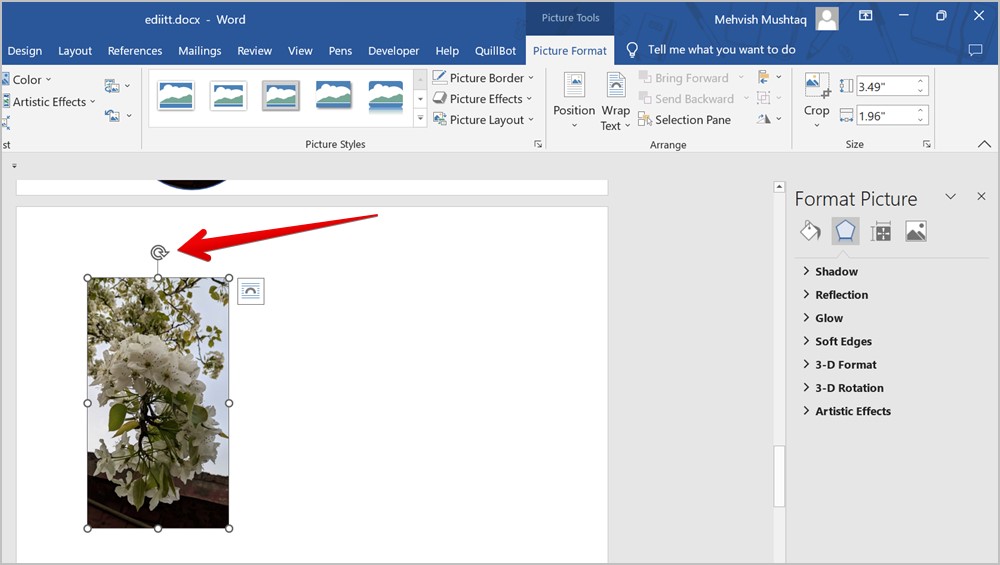
you may rotate a photo at any angle in Microsoft Word . only , choose the range first . You will see the Rotation ikon at the top of the image . Hold it using your computer mouse and move it in the direction that you want to rotate the prototype .
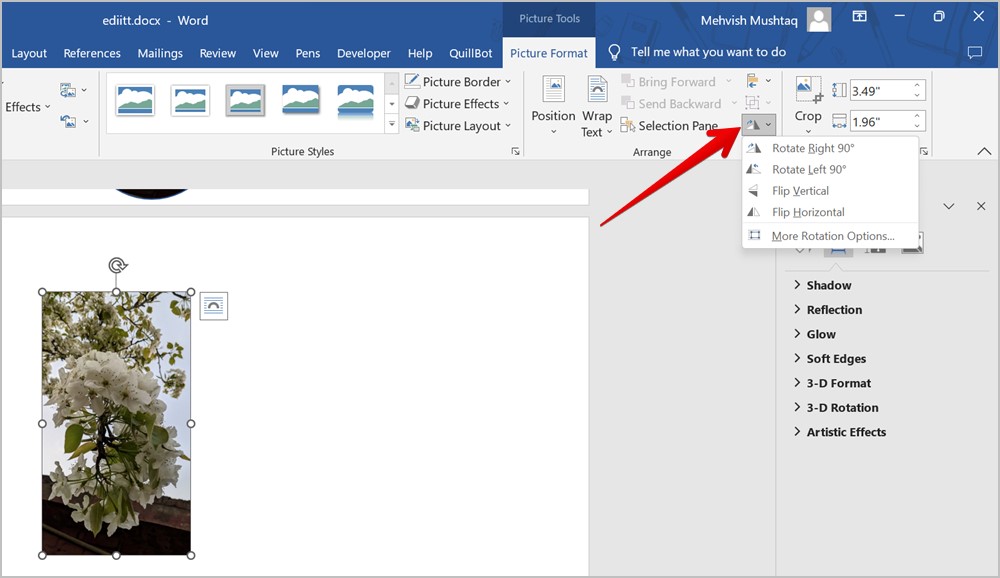
Alternatively , you may spread out and flip an simulacrum using theRotationfeature in the toolbar as well . two-fold - snap on the image to launch the Picture format toolbar . come home on theRotateicon and pick out the revolution slant or flip mode .
4. Create Copies of a Picture
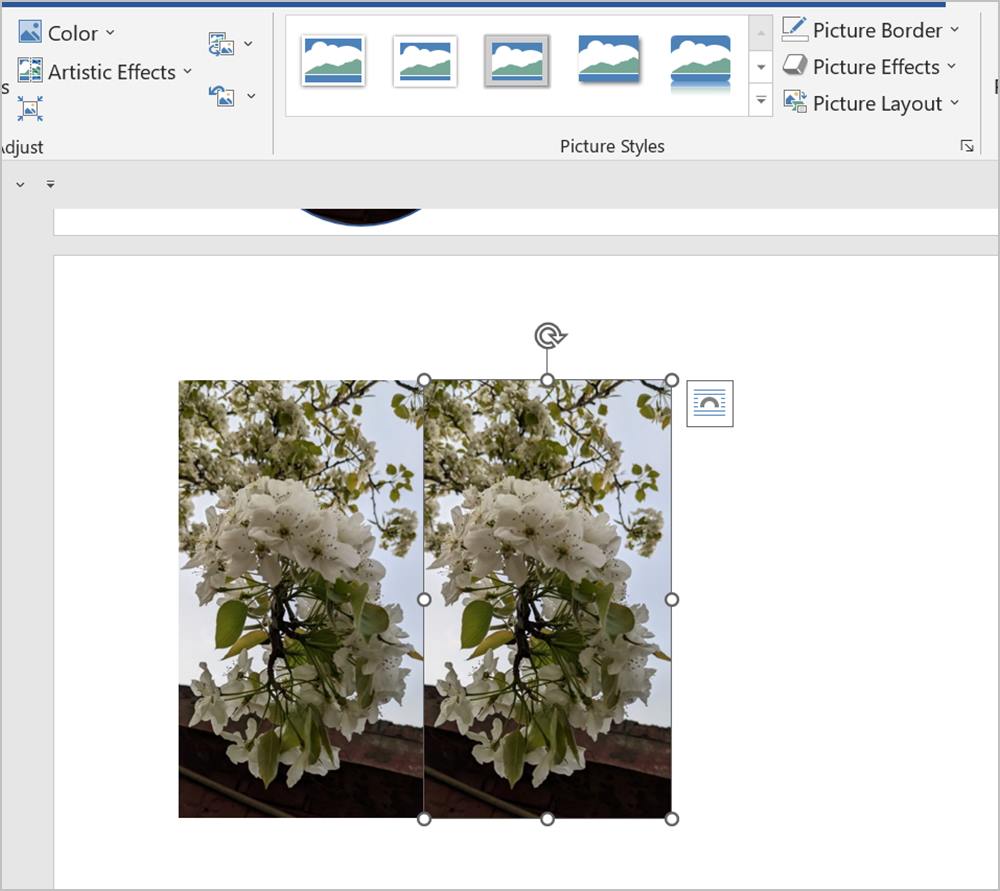
The regular manner to make written matter of an image is to use the Ctrl + C and Ctrl + V keyboard shortcuts . But Word offers another manner to twin your image .
For that , select the persona by clack on it , then hold theCtrlkey and sweep the selected icon to its correct side . A duplicate written matter will be produce . Similarly , retell the outgrowth to create multiple copies of your picture .
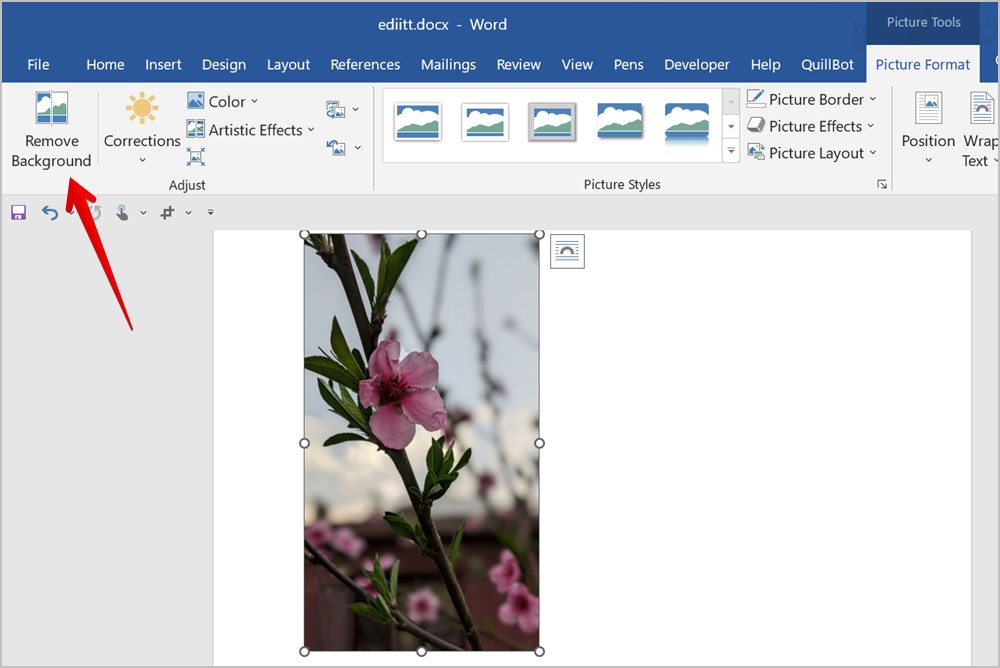
5. Remove Background from a Picture
1.Insert the picture in your Word written document .
2.Double - select the picture to open up the Picture Format menu at the top .
3 . Click onRemove Background .
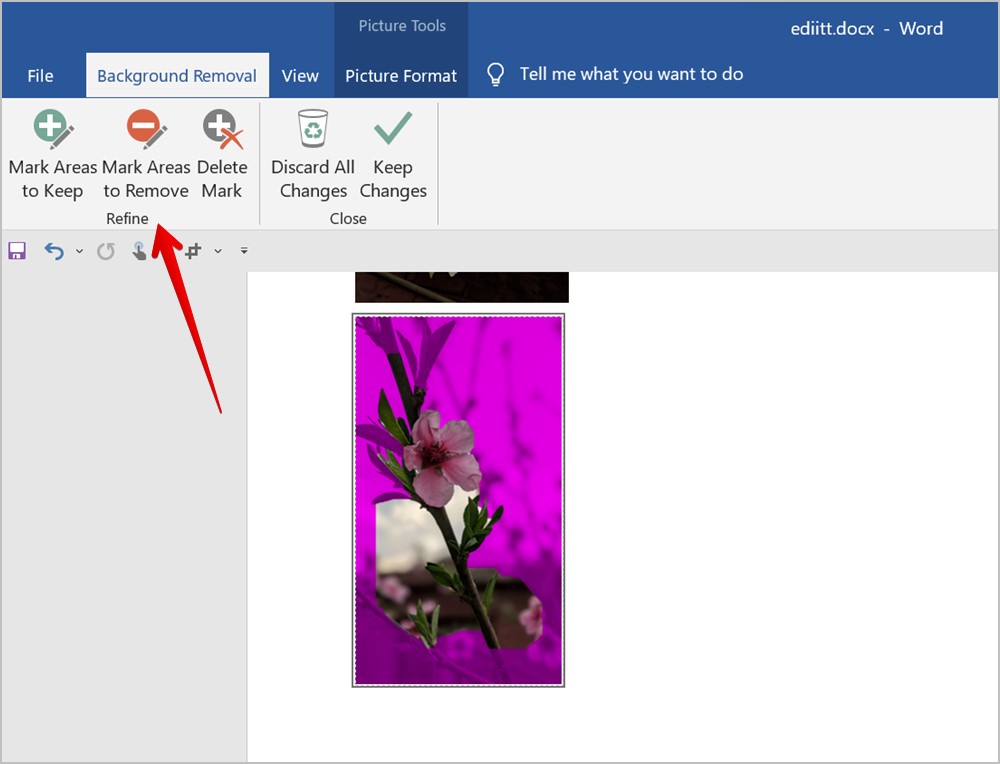
4 . Word will mechanically notice the scope and the same will show up in magenta color . fundamentally , the area in Battle of Magenta color will be removed . If you require to make modification to the selection , habituate theMark areas to keepandMark area to removetools to total or remove areas from your selection manually . After you select the tool , distinguish the areas on the image .
5.Once you are quenched with the survival , penetrate onKeep Changesor press the Enter key to remove the background from your picture .
Tip : tick out other ways toremove the background knowledge from any picture .
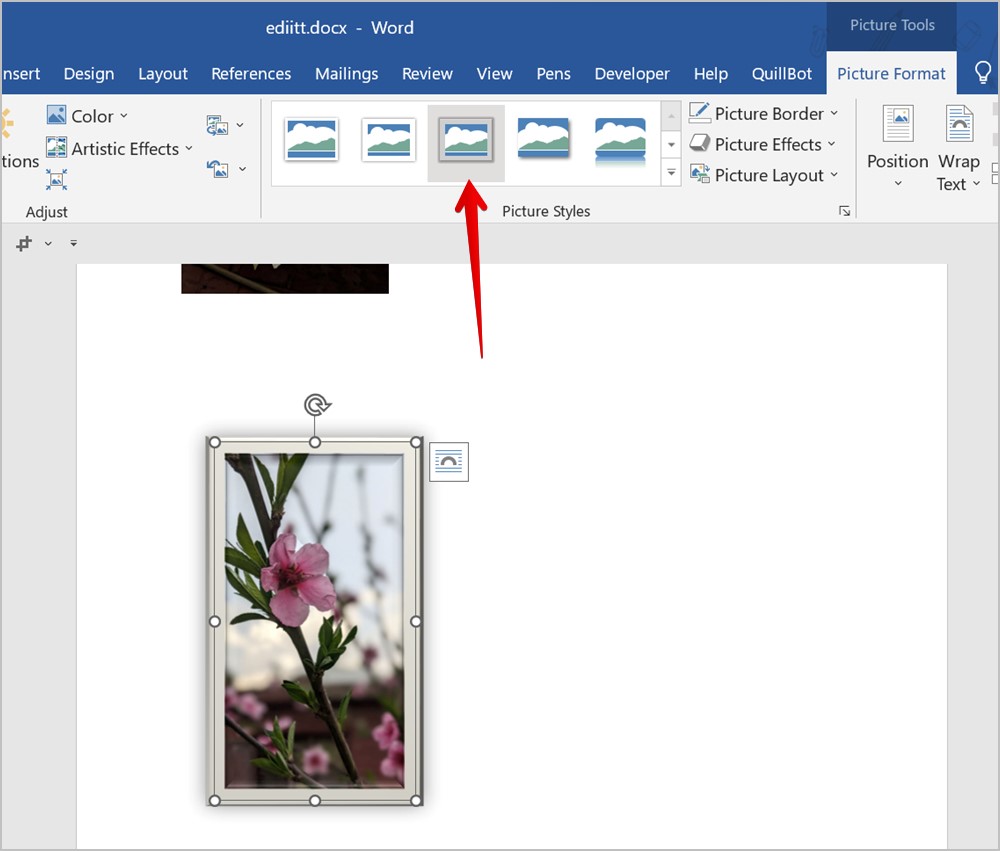
6. Add Frame to Picture
To make your characterisation or screenshot stand out , you’re able to add a frame to the picture as express below :
1.Double - tap the mental picture in your Holy Scripture document .
2.select the desired frame in the Picture Styles section to add it to your image .
Pro Tip : press the More pointer to view all the uncommitted frames .
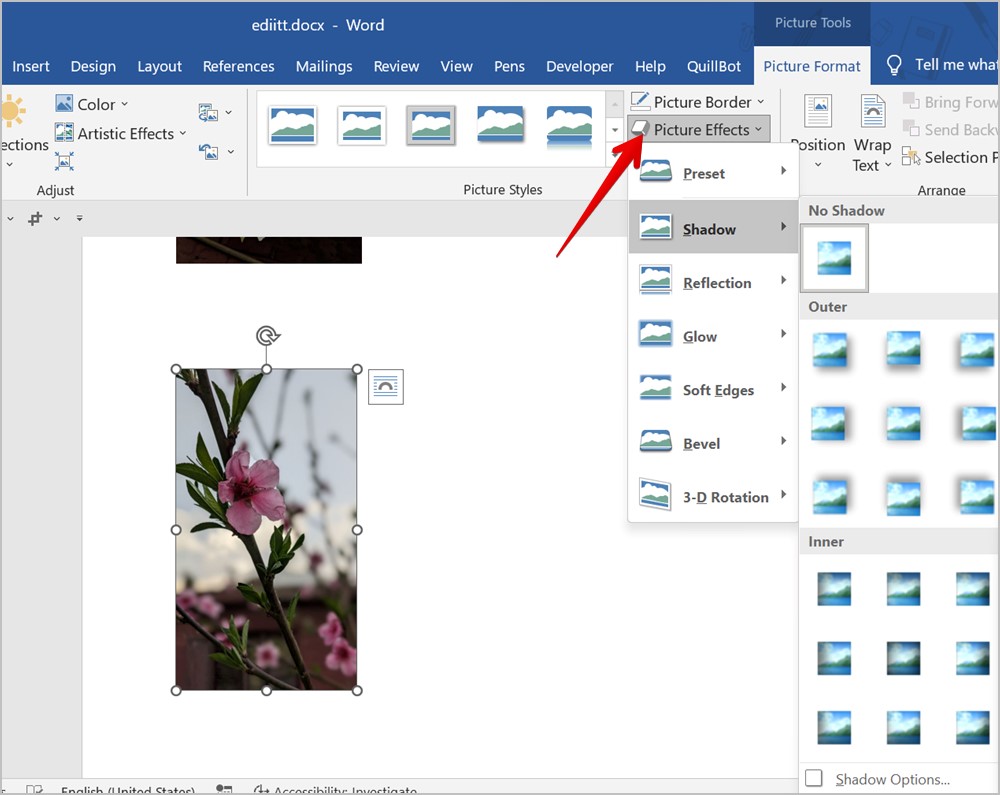
7. Add Effect to Picture
Another way to raise the face of your characterisation is to add an effect to it . you’re able to add effects like shadow , reflectivity , glow , etc .
treble - click your pic and then click onPicture Effectsin the Picture Format toolbar . Select the desired effect from the list .
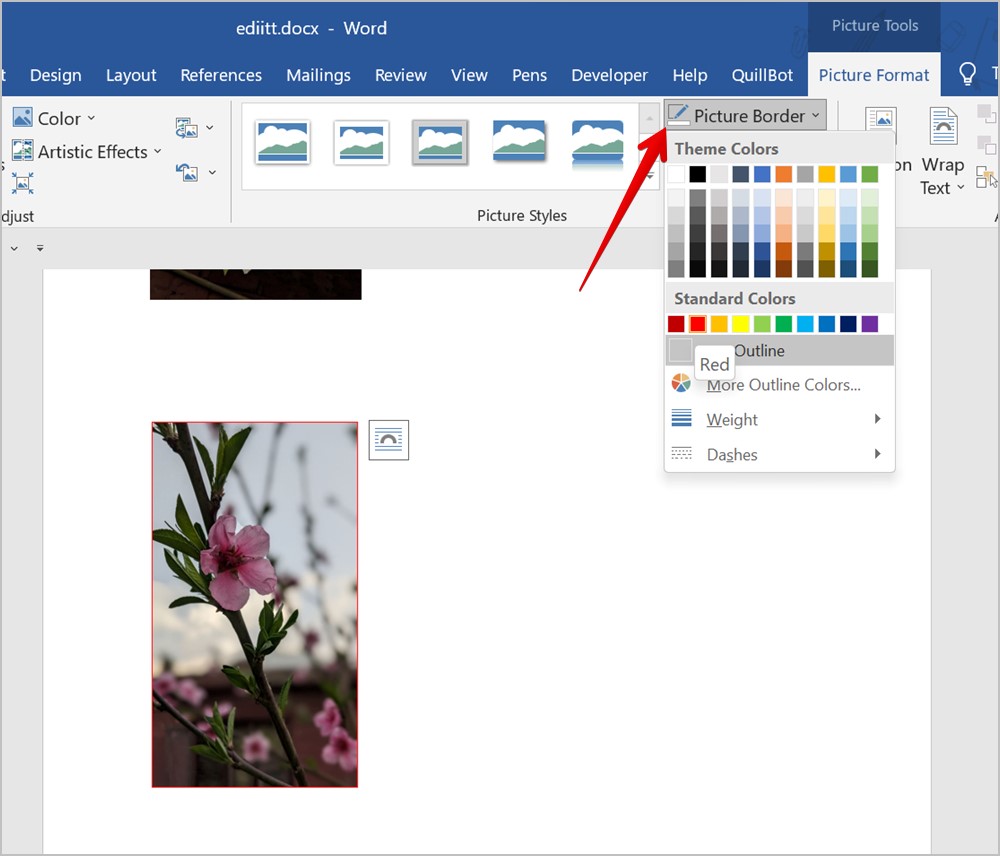
8. Add Border to Picture
If you want to keep it dim-witted and just add a even border to your pic instead of a right inning , you may do that too .
1 . twofold - press the video and selectPicture Borderfrom the Picture Format toolbar .
2.Choose the delimitation colouration from the available options . Or , press Weight or Dash in the menu to custom-make border size and style .
Pro Tip : To apply a custom color or to tot a hex color codification for the border , select Picture Border followed by More outline colors in the menu . Then , select Custom .
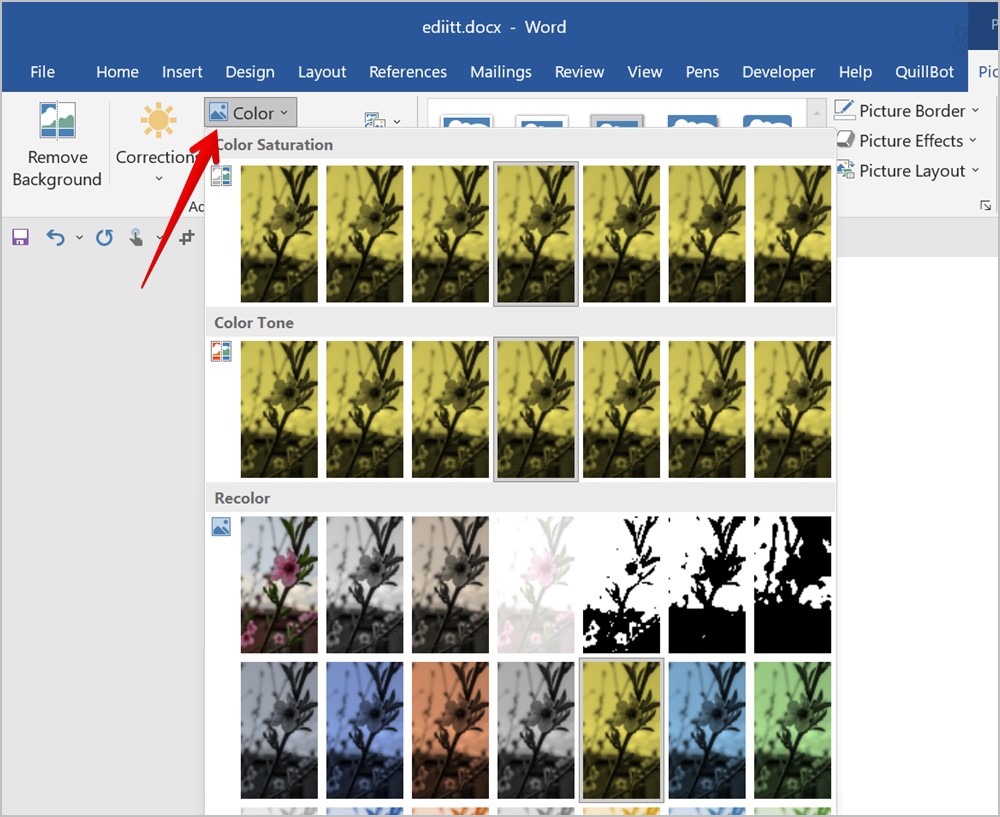
9. Change the Color of a Picture
require to tote up a filter or change the color of your video ? you’re able to do that too in Microsoft Word .
duple - press the epitome and then cluck on theColorsoption in the Picture Format toolbar . choose the preferred people of colour from the list .
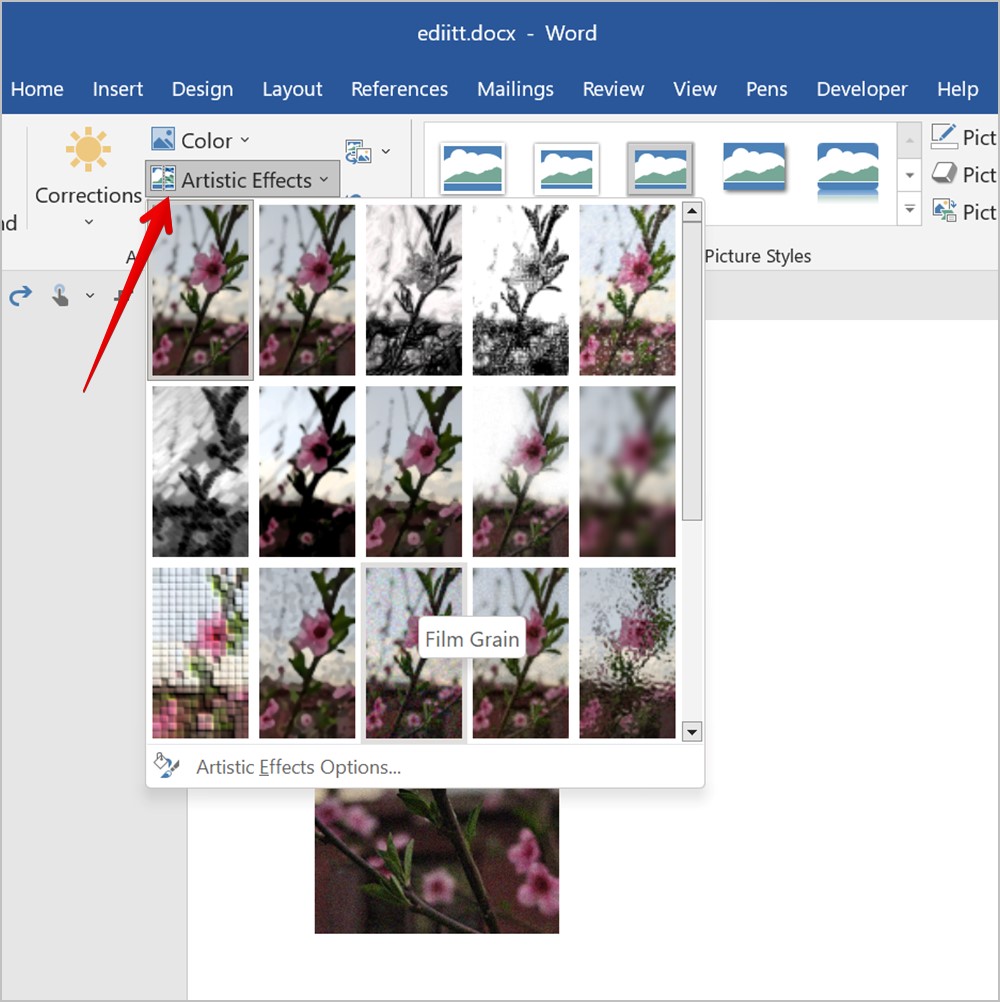
10. Add Artistic Effect to Picture
Next , you could add aesthetic effects like a pencil sketch , paint strokes , paintbrush , etc . to your image in Word .
For that , double - click the picture and selectArtistic Effectsfrom the Picture Format toolbar . prefer an effect to add together to your image .
11. Change Brightness, Contrast, and Other Lighting Conditions
To custom-make various firing circumstance of your depiction , follow these stair :
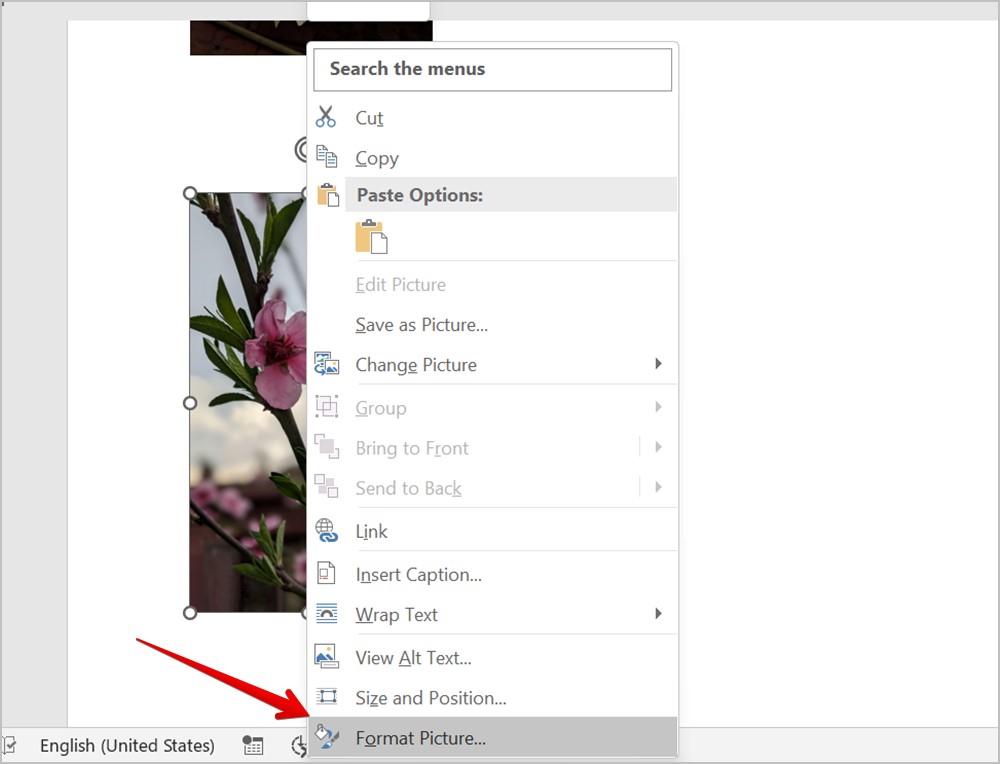
1.Right - select your picture show and selectFormat Picturefrom the menu .
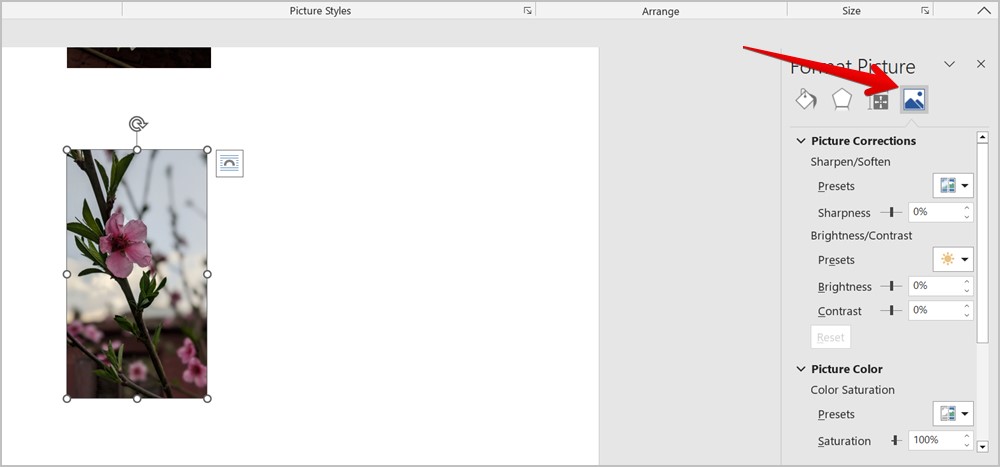
2.press theGalleryicon in the right sidebar and expand the Picture Corrections department .
3.Change the available parameter .
Pro Tip : you may also duplicate - click the figure of speech and select Correction in the Picture Format toolbar at the top to conform the smartness and line of your picture .
13. Compress Picture
Is your Holy Writ document quite big ? you’re able to reduce its sizing by compressing the pictures in it . you could exchange the resolution of one scene or all pictures and delete the cropped part of a photo and that will also compress the picture .
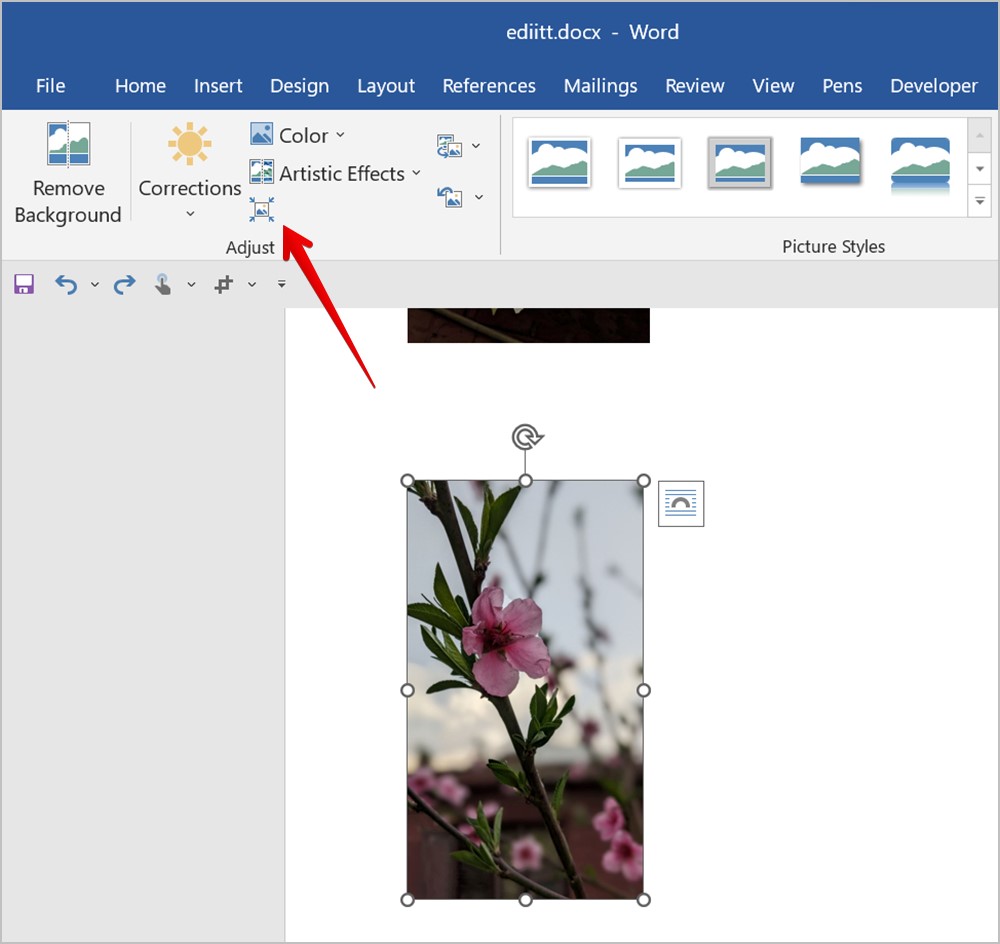
1.To compact a picture , double - press it and click theCompress Pictureicon in the Picture Format toolbar .
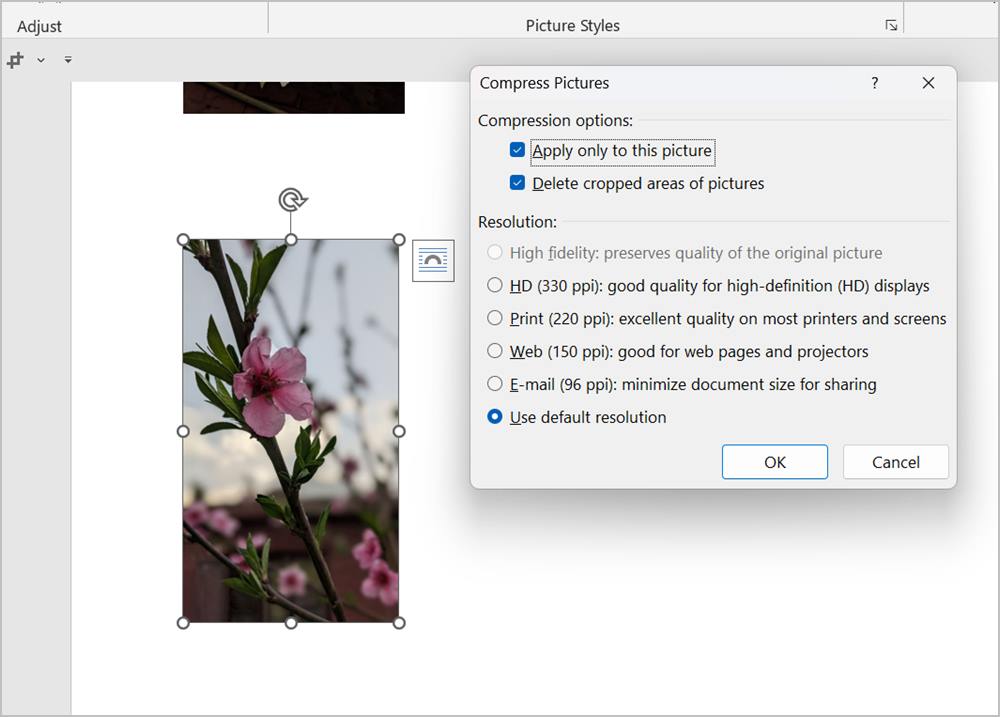
2.Choose the preferred solvent and choose whether you want to squeeze the selected picture only orall pictures . snap on Ok to support .
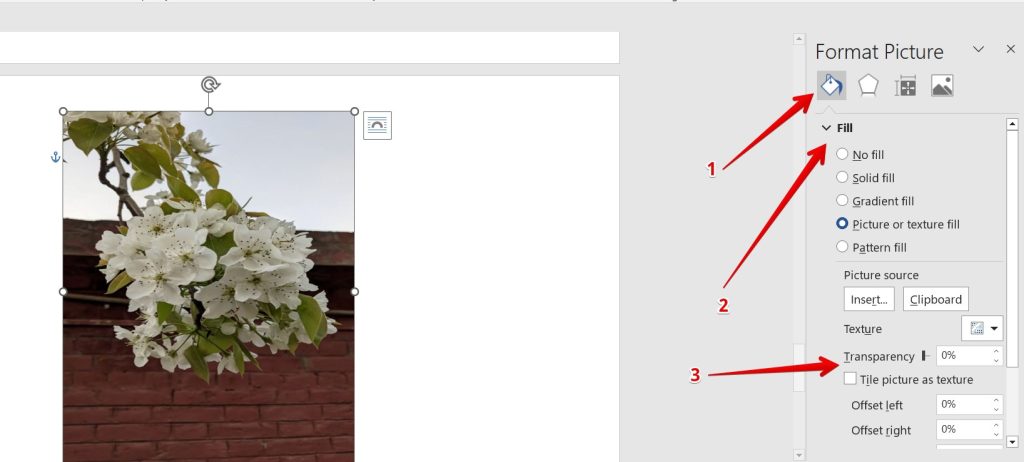
14. Change the Transparency of a Picture
To make your image transparent , follow these whole step :
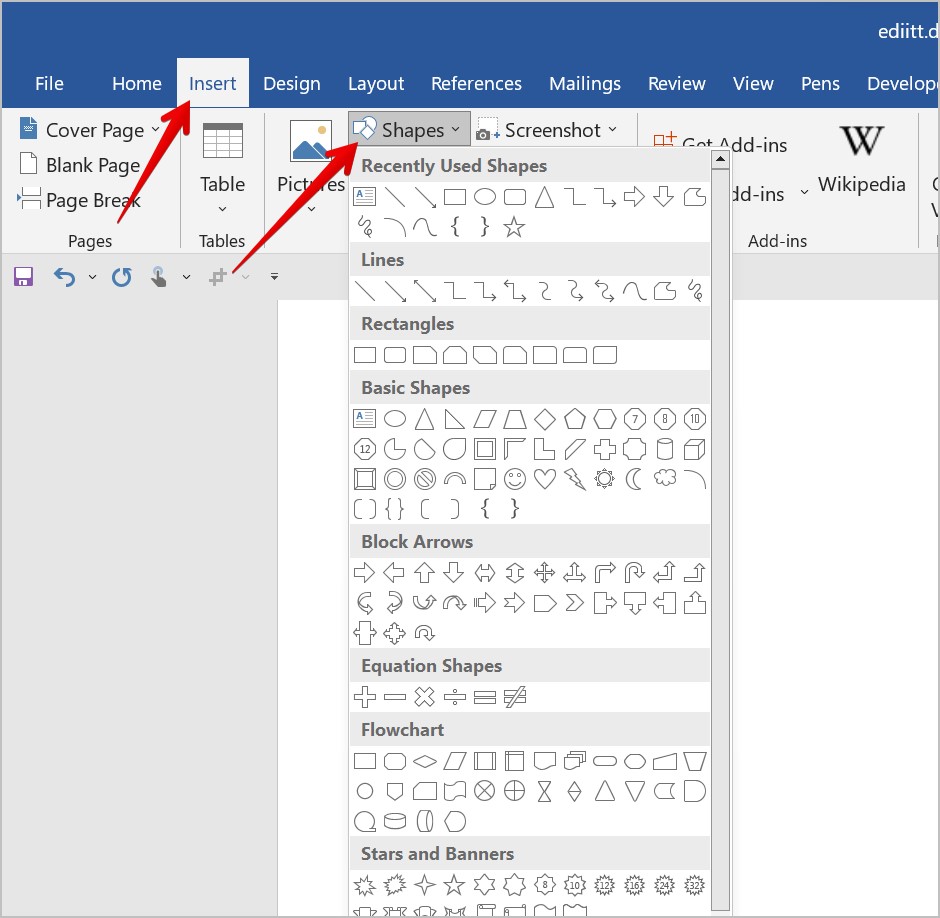
1 . In your Word document , press theInsertfollowed byShapes . pick out the shape where your image will fit perfectly .
2.Draw the desired shape in your written document .
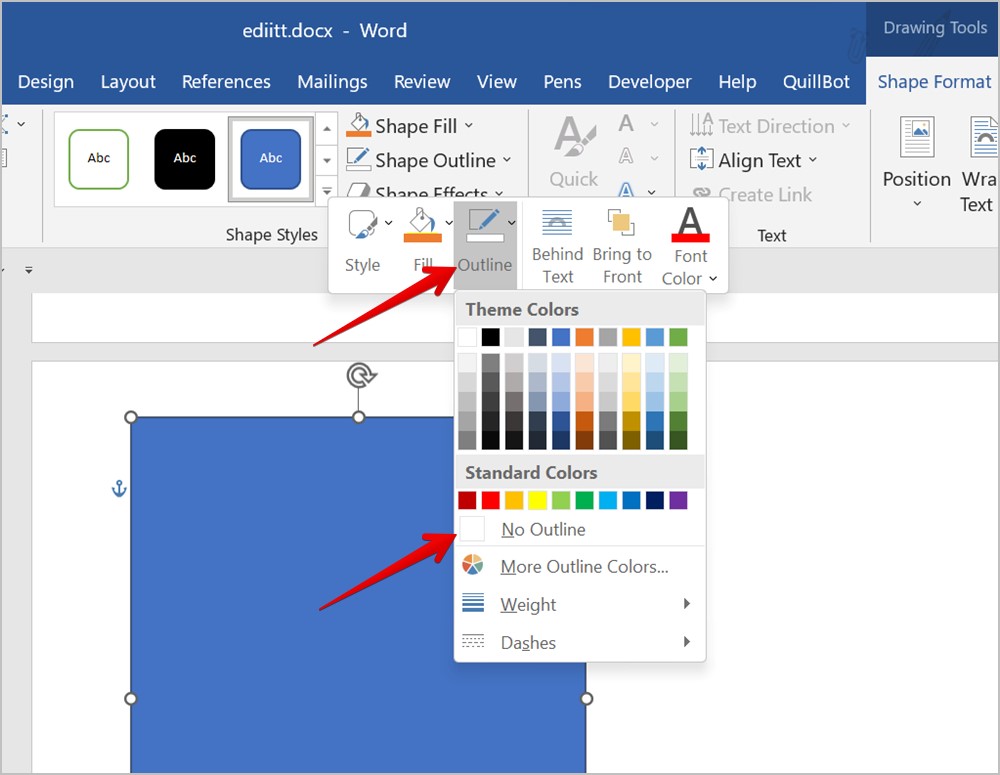
3 . Right - press the shape and click onOutline . SelectNo outlinefrom the menu .
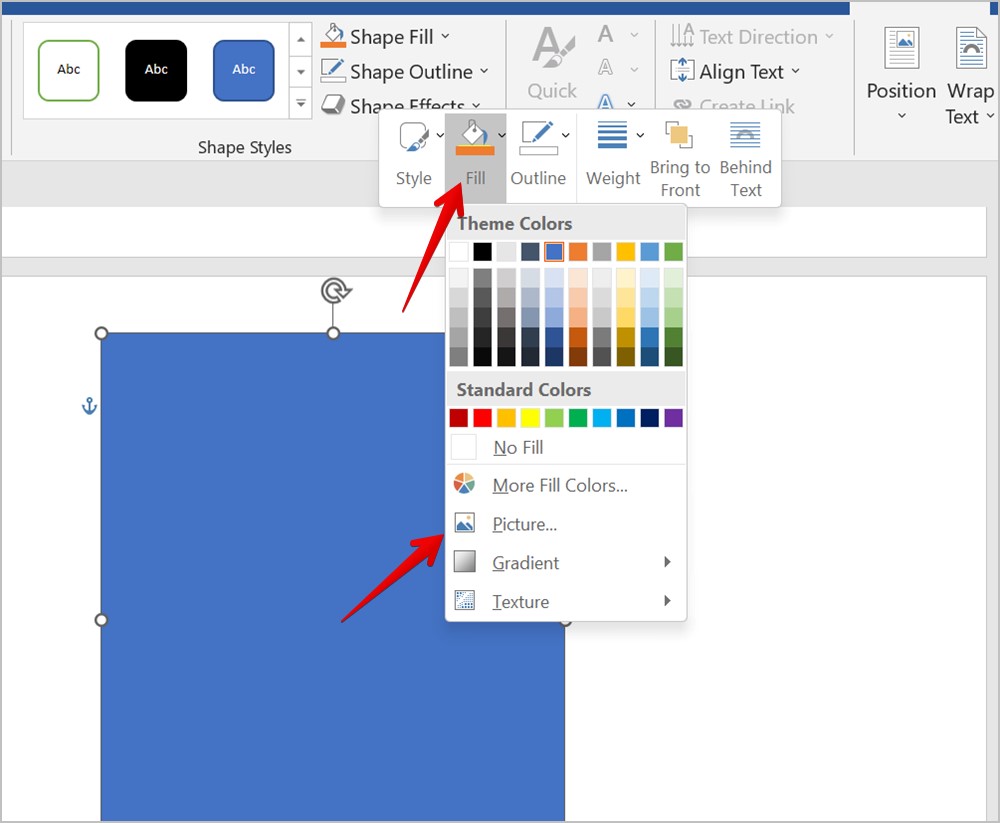
4.Right - dawn again on the shape and selectFillfollowed byPicture . Select the scene whose transparency you want to alter .
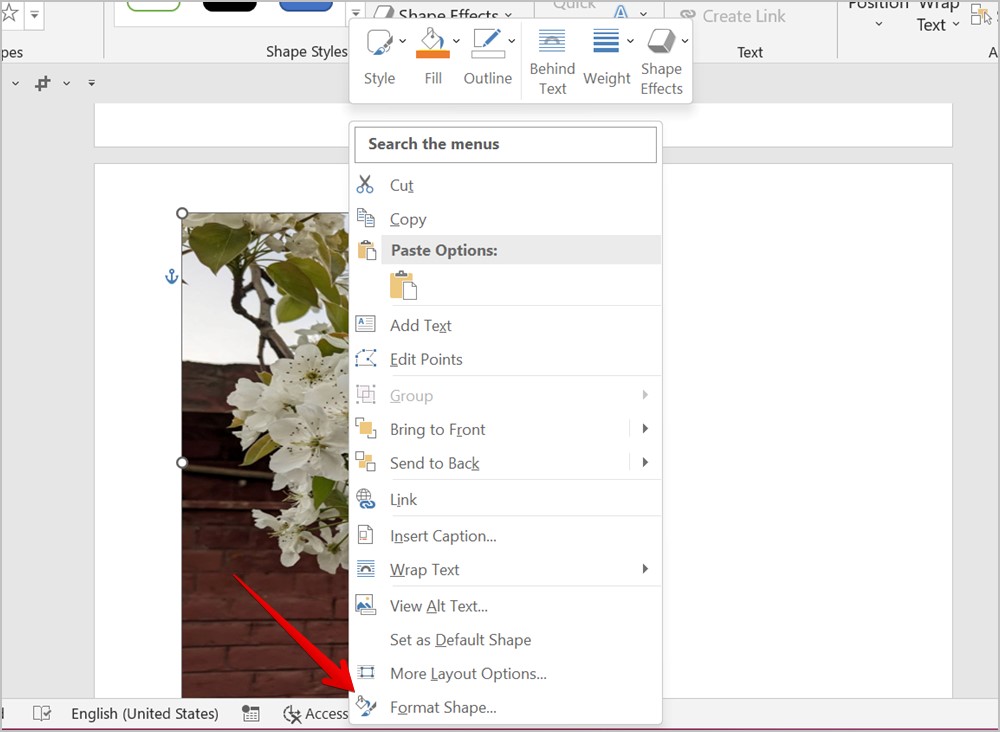
5.With the picture added in the shape , right on - select the icon and selectFormat Picture .
6.The Format Picture gore will open on the correct side . chatter on theFilltab ( Bucket icon ) and expand theFillsection .
7 . utilise the slider next to theTransparencyto change the transparence of your flick .
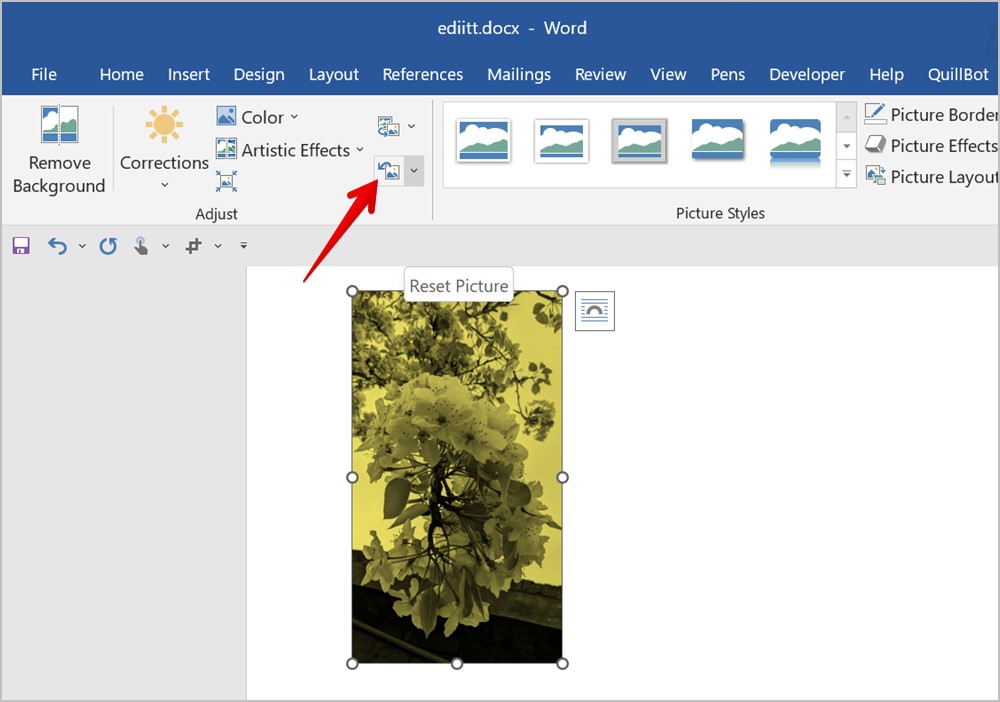
15. Reset Changes Made to a Picture
If you do n’t wish the edited picture in Word , you’re able to reset the variety and touch on the original image . For that , three-fold - click the edited image and fall into place on theReset Pictureicon in the Picture Format toolbar .
Make an Amazing Word Document
Hope the above bakshis to edit a screenshot or picture in Word were helpful . Once you have edited the pictures , know how toput two pictures side by side in Word . Also , recognize how tocreate a water line guide in Word .
Microsoft OneNote Icons and Symbols Meaning – App/Desktop
50 Years of Microsoft: 11 Times Microsoft Fumbled and Missed…
How to Transfer Windows 11 to a New Drive/SSD (Step-by-Step)
Microsoft Office is Now Free on Desktop – But With…
How to Install Windows 11 on PC With Unsupported Hardware
Windows 10’s End is Near: What Are Your Options?
Windows 11 Camera Not Working? Here’s How to Fix It
Windows 11 “Resume” Feature: Seamlessly Switch Devices
Windows 11 Installation Has Failed? Easy Fixes to Try
Windows 11’s Multi-App Camera Support: How to Enable and Use…